Installing Nudgify and the Nudgify Pixel is really easy and only takes a couple of minutes. Nudgify can be installed on any website!
Just sign up for Nudgify and select Add to your HTML as your integration.
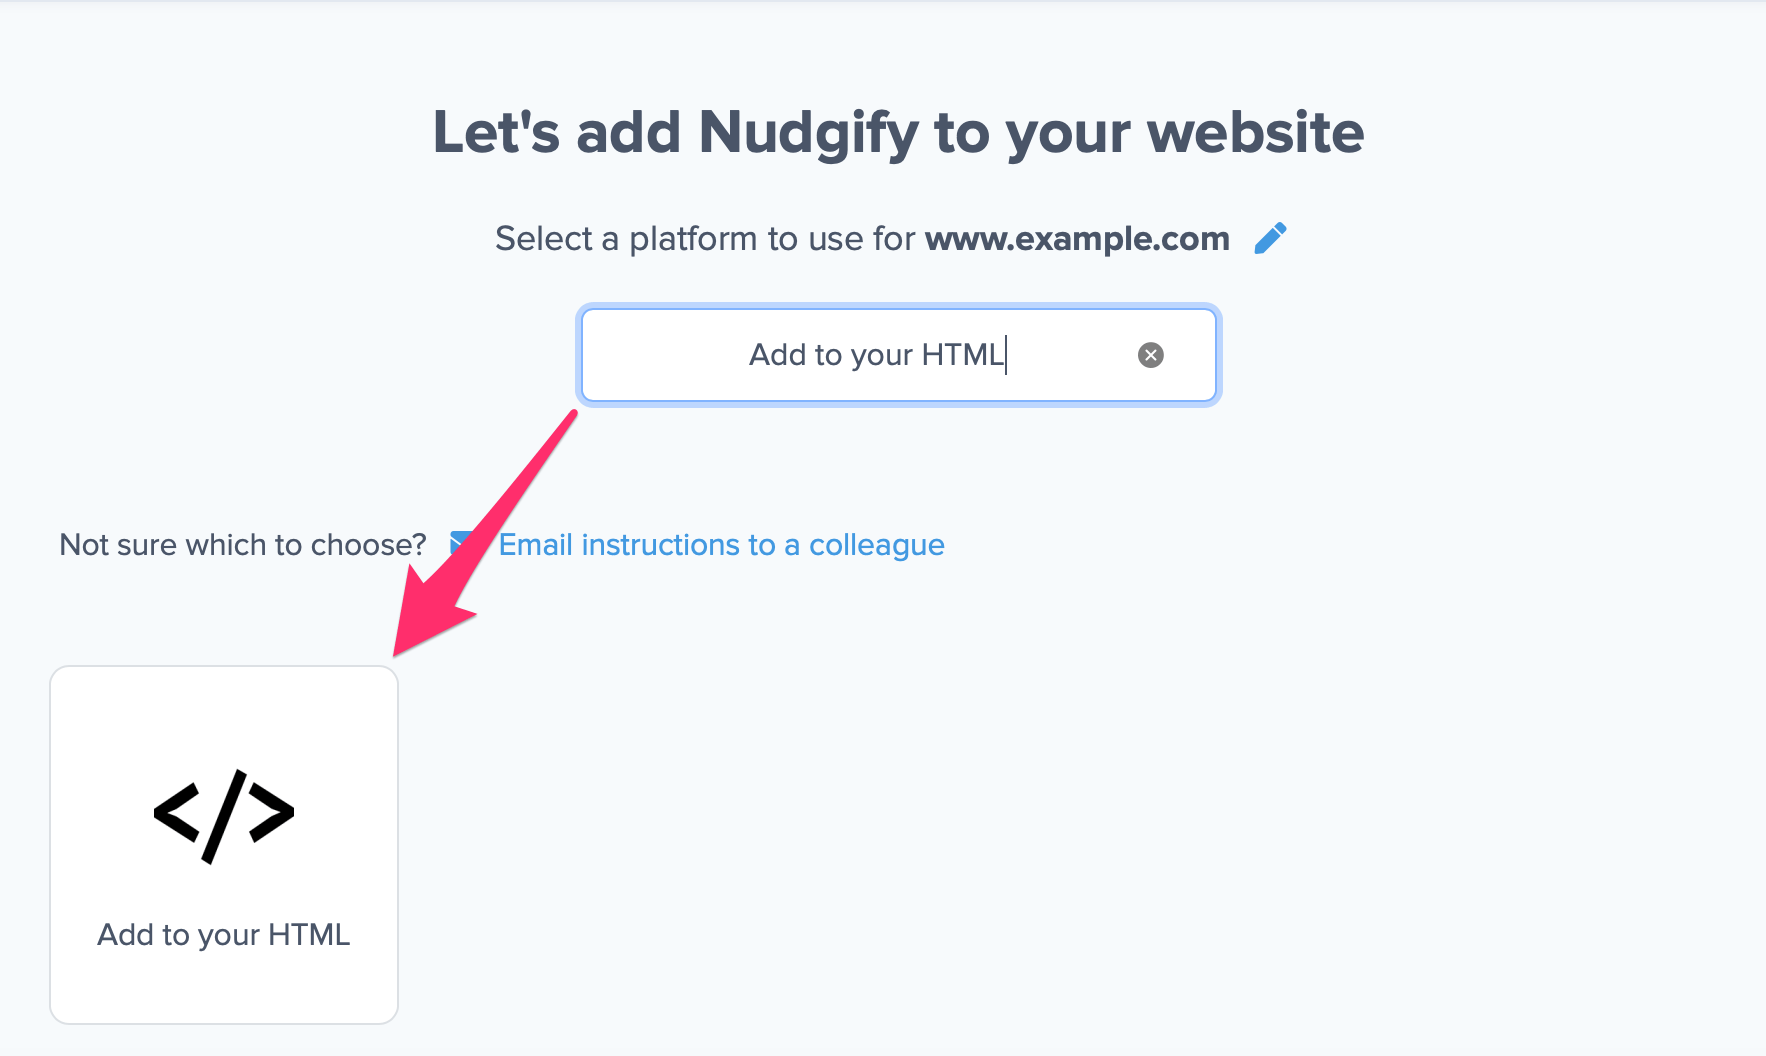
Now a window will open in which you can see a step-by-step guide on how to install your Nudgify Pixel. This Pixel is nothing more than a small line of code that you need to copy and paste into the code of your website. The Pixel is what we use to display the Nudges on your site.
To install your Nudgify Pixel, follow the steps below.
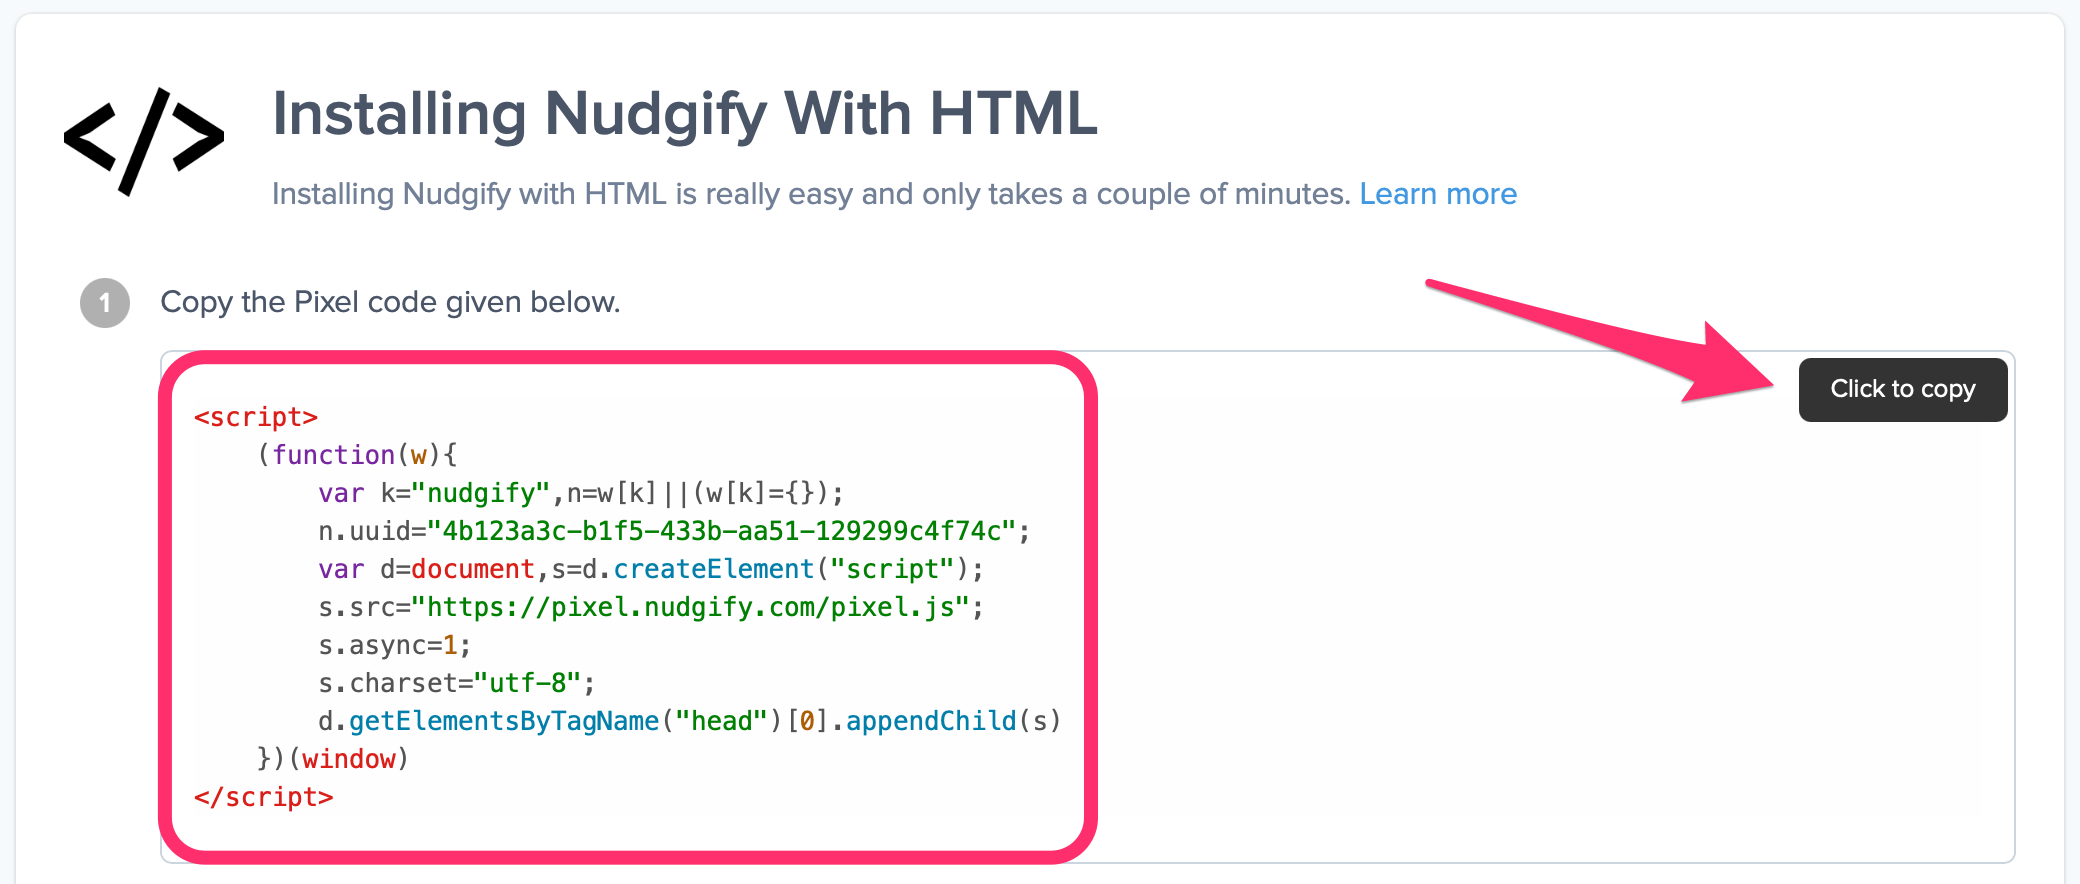
Step 1: Copy your Pixel
- Select the platform you use, or, if your platform is not there, choose the HTML option.
- Copy the Pixel from the box below.
Step 2: Paste the Pixel into the head section of your source code
- To install the Pixel into your webpages, you need to paste it in the head section of your website. This is the section of your website’s code that starts with the opening head tag
<head>and ends with the closing head tag</head>. Paste the Nudgify Pixel between the<head>and</head>tags. It is easiest to paste it right before</head>. - For example, in the code below, you would paste the Nudgify Pixel on line #7 (just above the closing tag
</head>)
Installing the Pixel without opening up your code
Installing the Nudgify Pixel into your website manually is simple, but it requires access to your website’s code. Most website builder platforms offer an easy way to add Pixels like Nudgify’s without having to open up your code.
Check your platform’s documentation or read one of our installation guides. If your platform gives you the option to choose which section of your website to place your pixel: the head, the body or the footer, choose the head section.
You can also use a tag manager, such as Google Tag Manager, to install the Pixel without touching your source code. Read how to install Nudgify with Google Tag Manager
Step 3: Check if the Pixel is installed
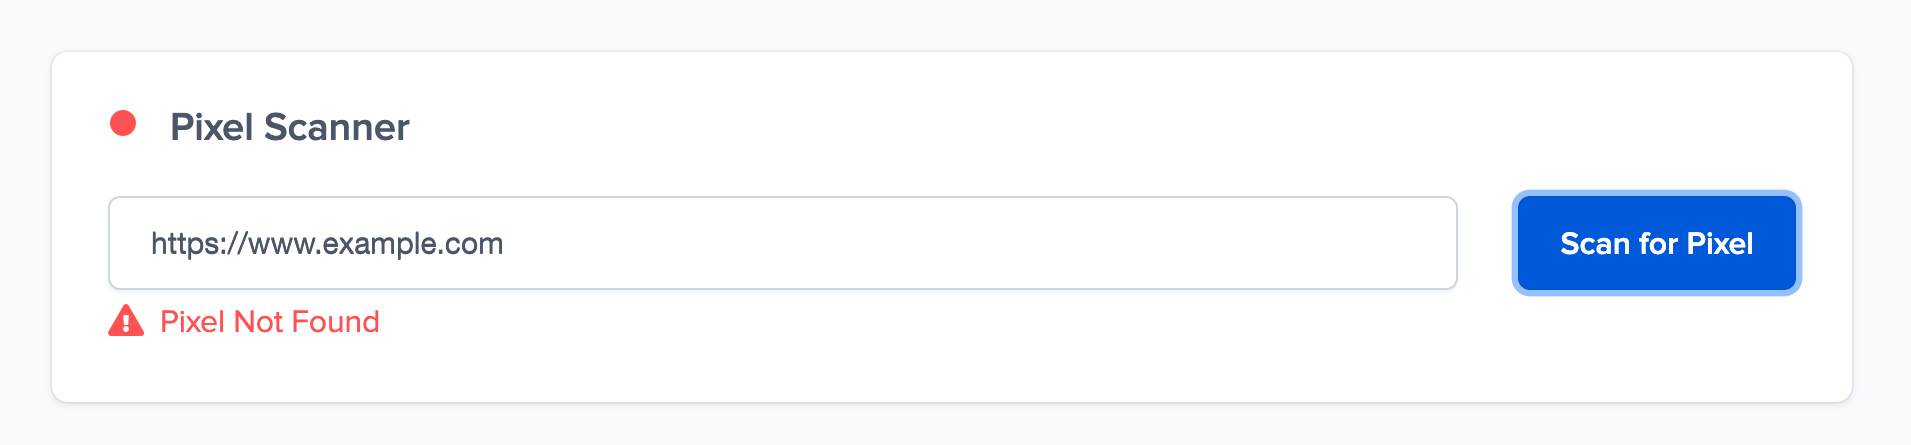
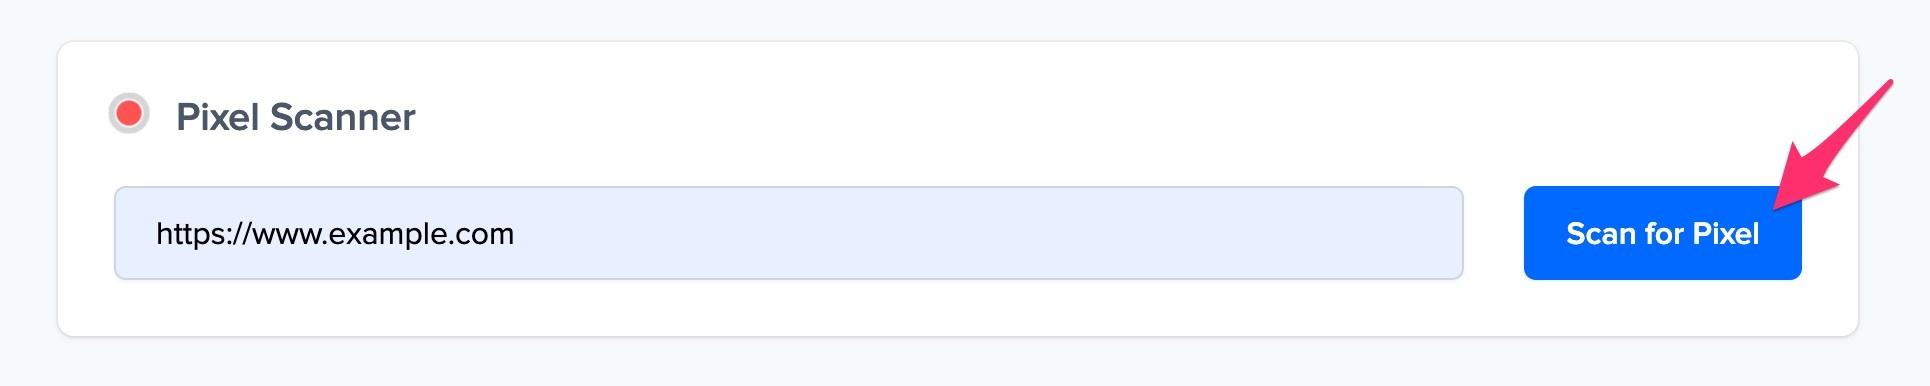
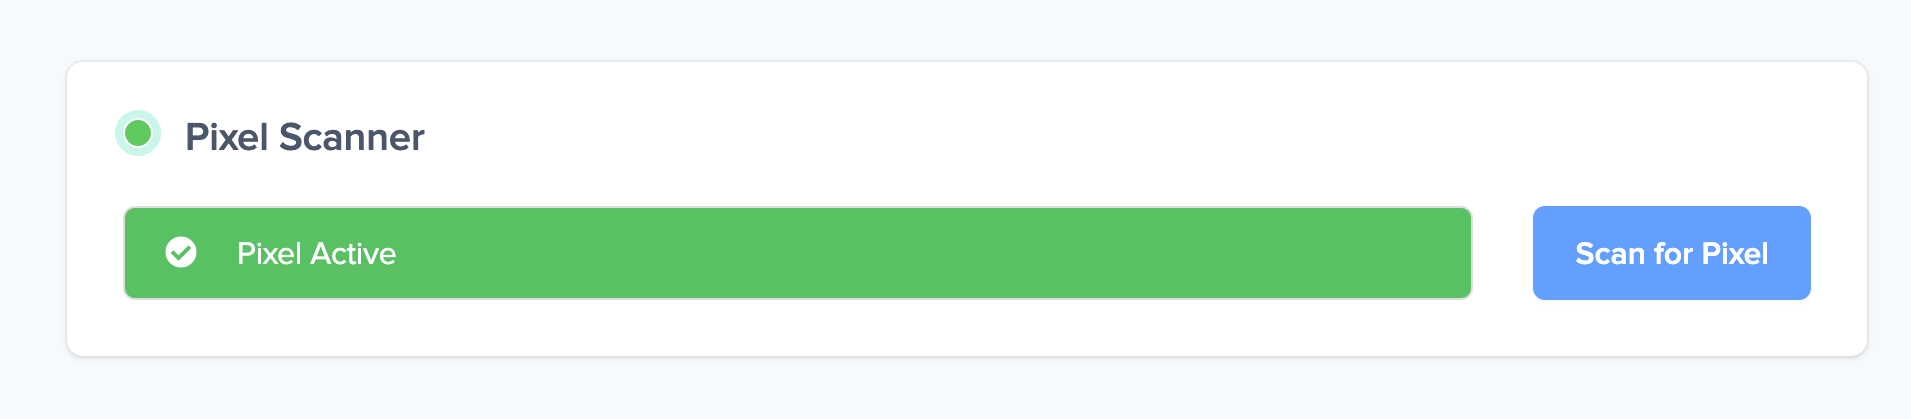
- Go back to Nudgify and click “Scan for Pixel” to see whether you have installed the Pixel correctly.
- Do you see the green “Pixel installed” message? Congratulations, you have installed the Nudgify Pixel on your website and you will be able to see the Nudges you create on the targeted pages!
- Do you not see the green “Pixel installed” message? This means that you haven’t yet installed your Pixel. Double check that you completed all the steps to install your Pixel and try again.
- Is your Pixel still not found? Click the blue chat bubble in the app where we can assist you 1-on-1 on setting up your Pixel.