How to install Nudgify on Magento 1
Installing Nudgify with Magento 1 is really easy and only takes a couple of minutes.
Note: If you want to install Nudgify on Magento 2 (Adobe Commerce), see our integration guide : Magento 2 Integration for Nudgify.
Step 1: Get your API Keys from Nudgify
Just sign up for Nudgify and select Magento as your integration.
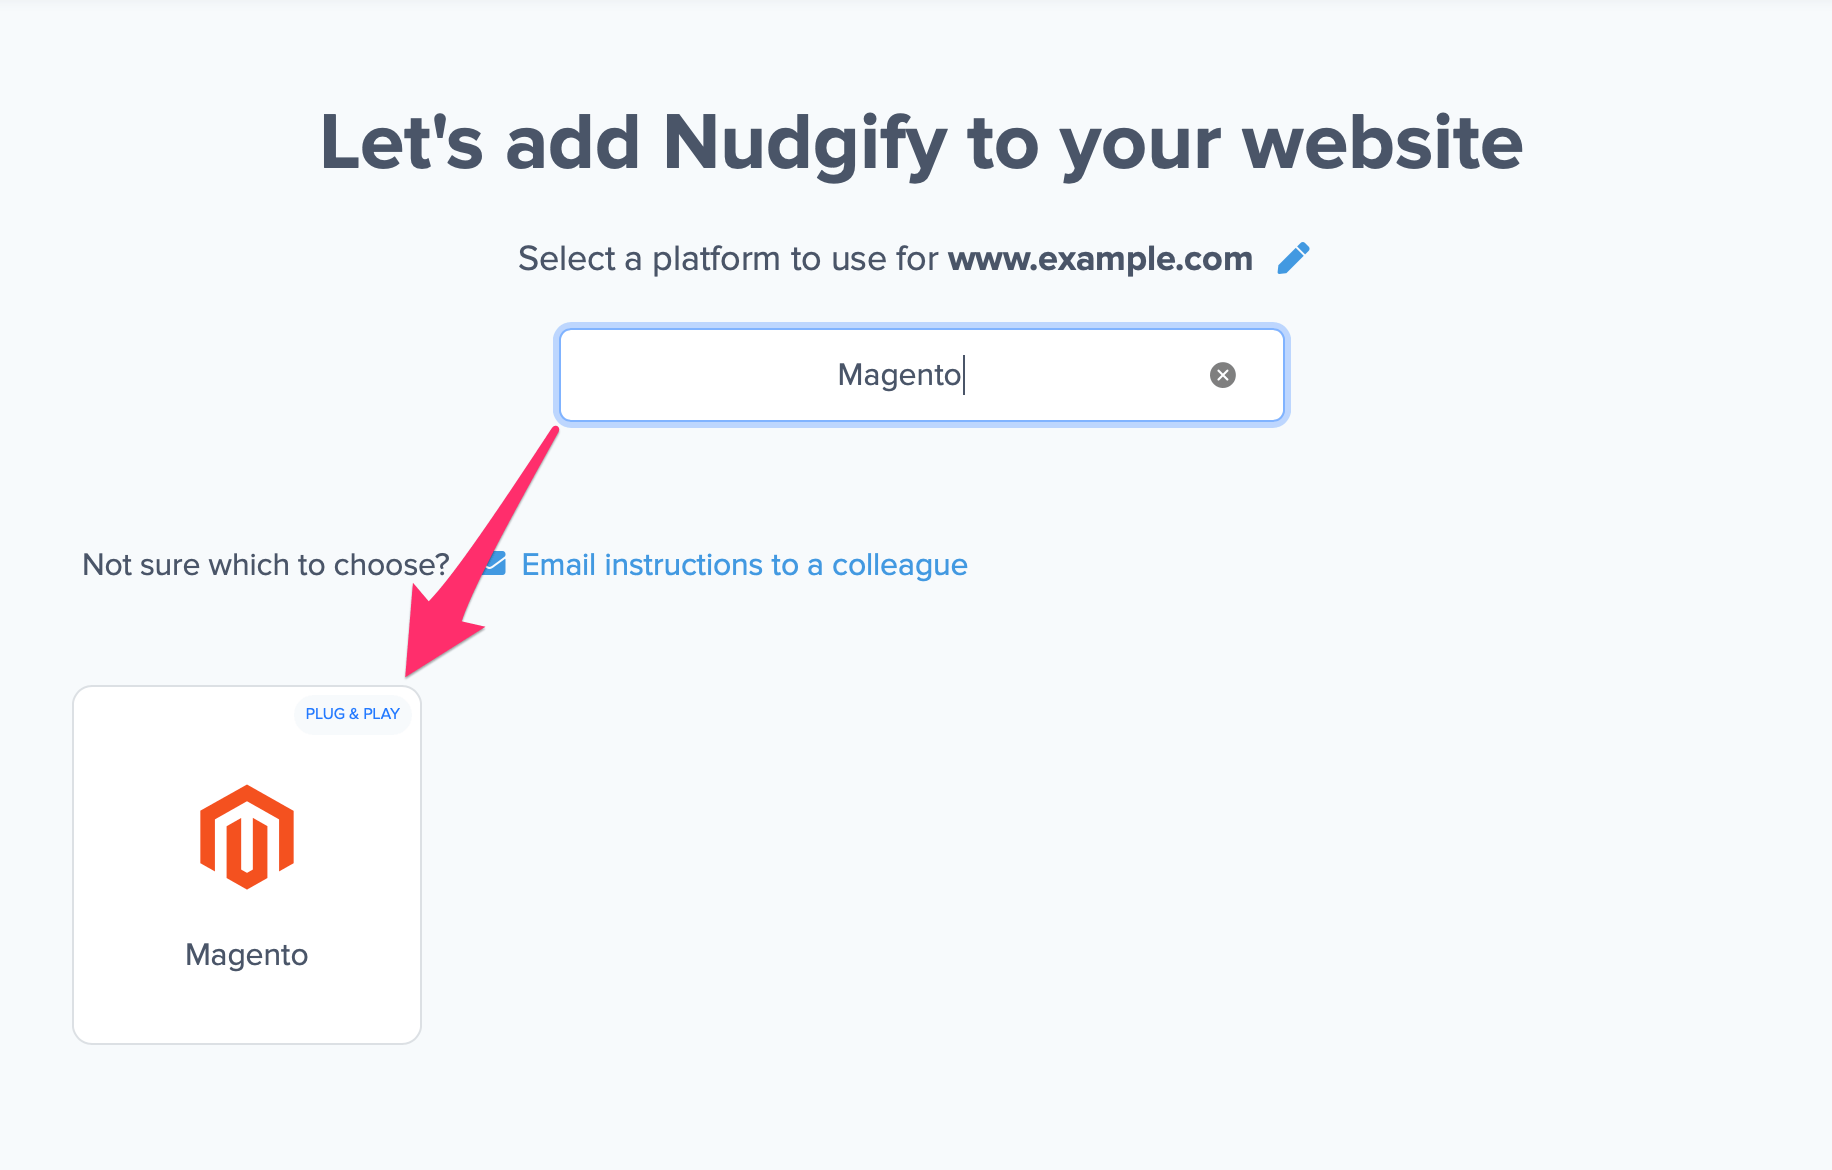
Now a window will open in which you can see a step-by-step guide on how to install Nudgify on Magento.
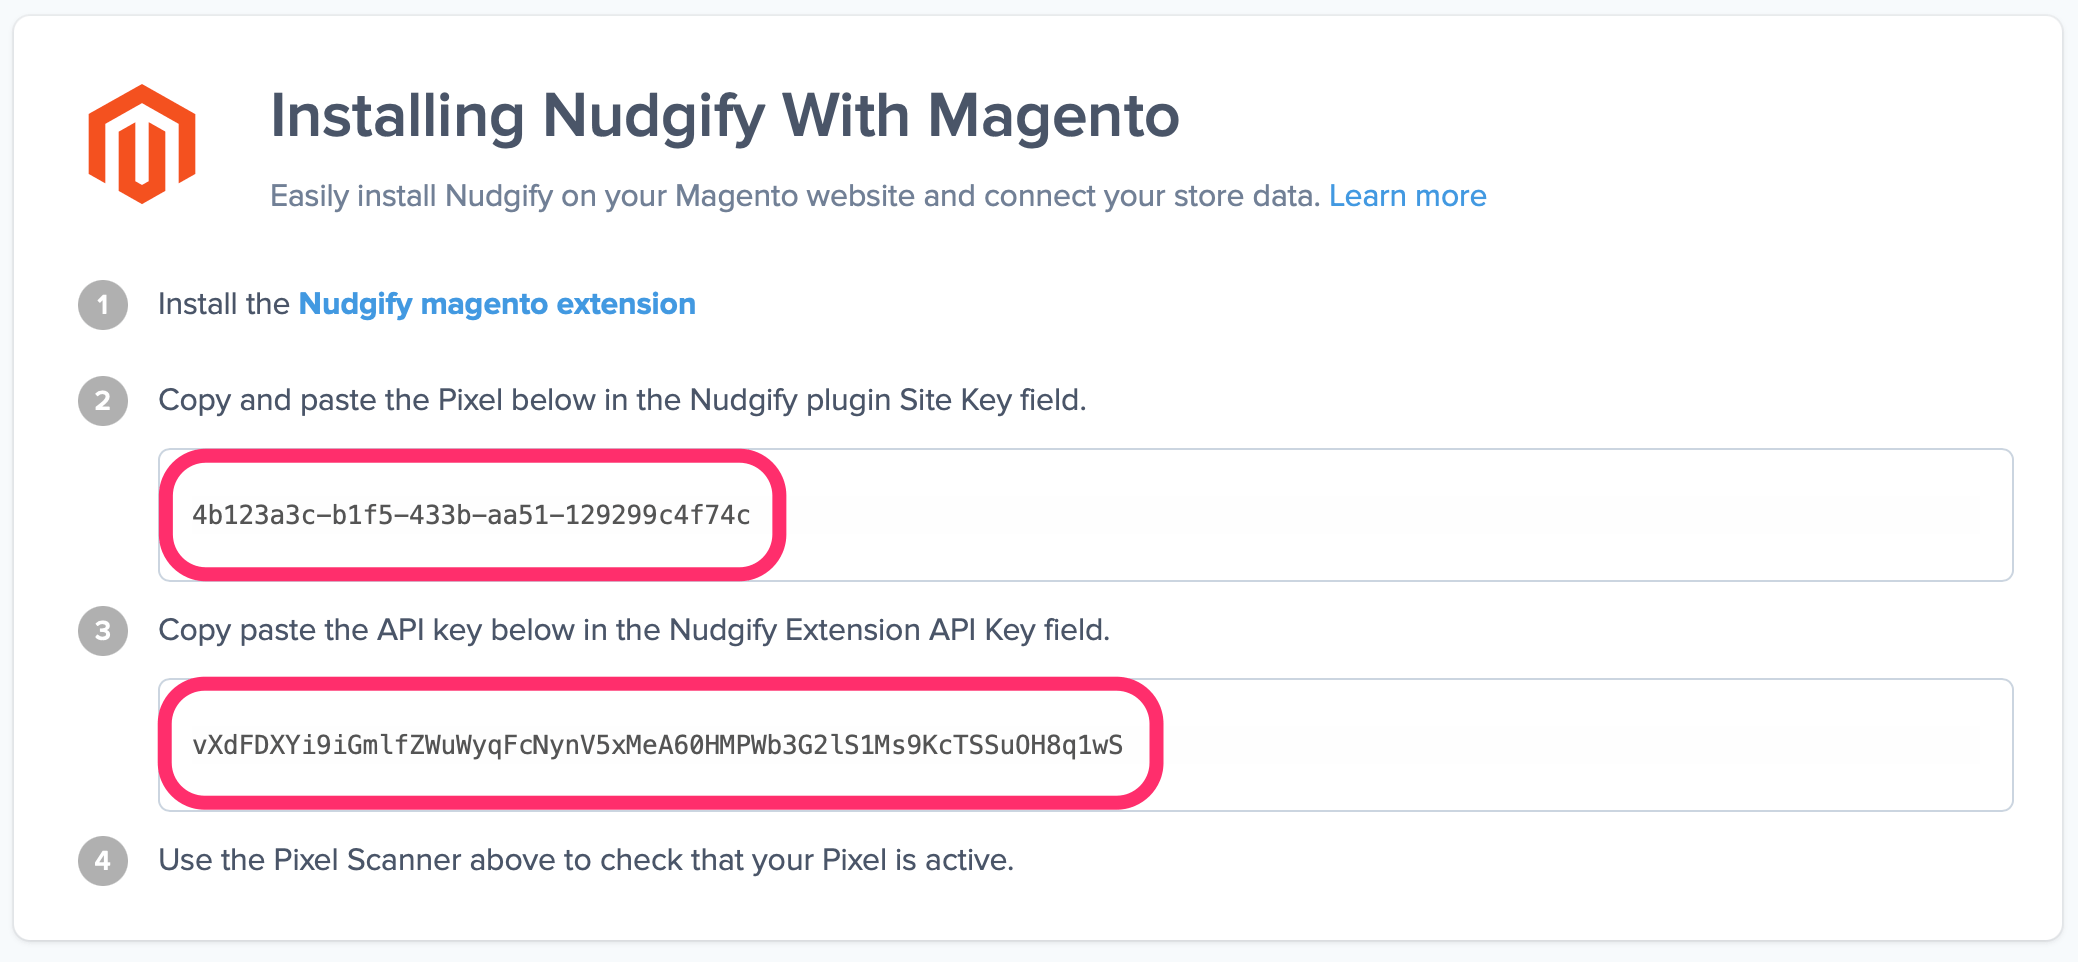
Copy your Nudgify Site Key and API Key:
Step 2: Paste the Pixel into the Miscellaneous Scripts box
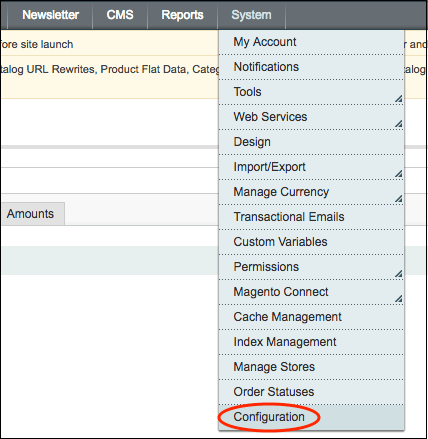
- Login to your Magento Admin Panel and click on “System” and select “Configuration” from the drop down menu.
On the left tab, click on “Design”
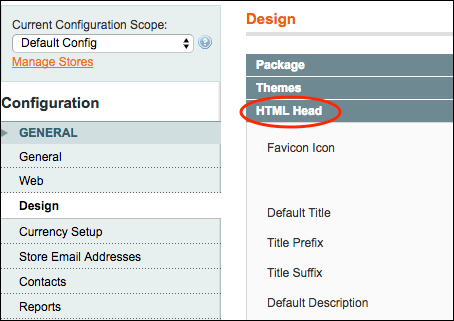
In the “HTML head” section, paste the Nudgify pixel in the “Miscellaneous script” section.
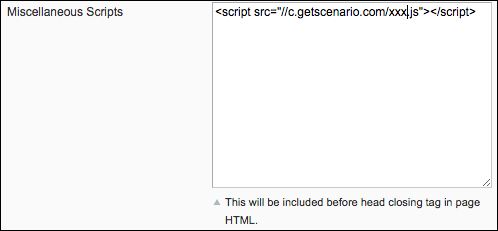
Click the “Save Config” button.
Step 3. Check if your Pixel is installed
- Go back to the Nudgify page where you began setting up your Magento platform and click “Scan for Pixel” to see whether you have installed the Pixel correctly.
![]()
- Do you see the green “Pixel Active” message and the red dot in the top left corner turn green? Congratulations, you have added the Nudgify Pixel to your Magento landing page!
![]()
- Do you not see the green “Pixel Active” message? This means that you haven’t yet installed your Pixel. Click the blue chat bubble in the app where we can assist you 1-on-1 on setting up your Pixel.
You can now start adding Social Proof and FOMO Nudges to your Magento website!