How to Install Nudgify on your Blogger site?
Blogger is a user-friendly blogging platform that enables individuals and businesses to create and publish their own blogs with ease.
It only takes a few minutes to install Nudgify on your Blogger landing pages.
With Nudgify, you can add Social Proof, FOMO Nudges and many more to your Blogger landing pages to boost your conversion rate.
Step 1: Copy your Nudgify Pixel code
Just sign up for Nudgify and select Blogger as your integration.
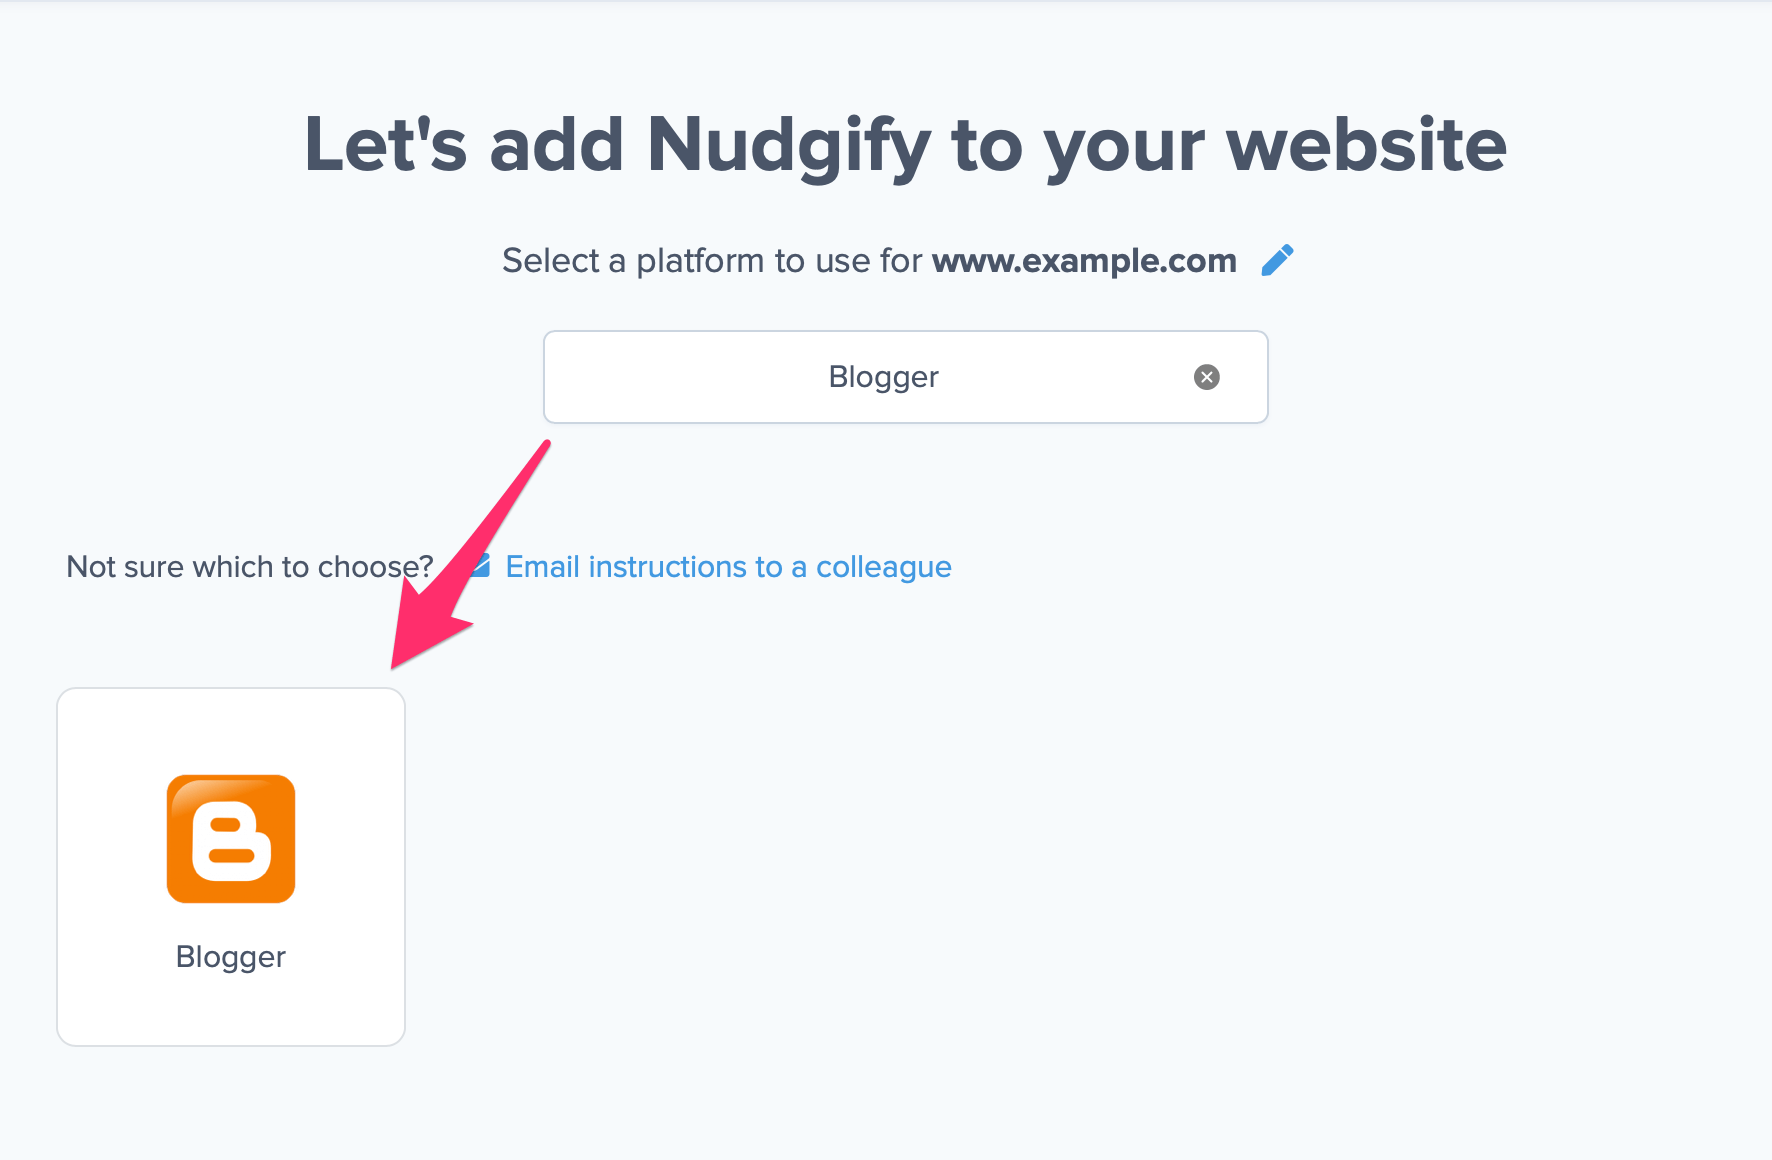
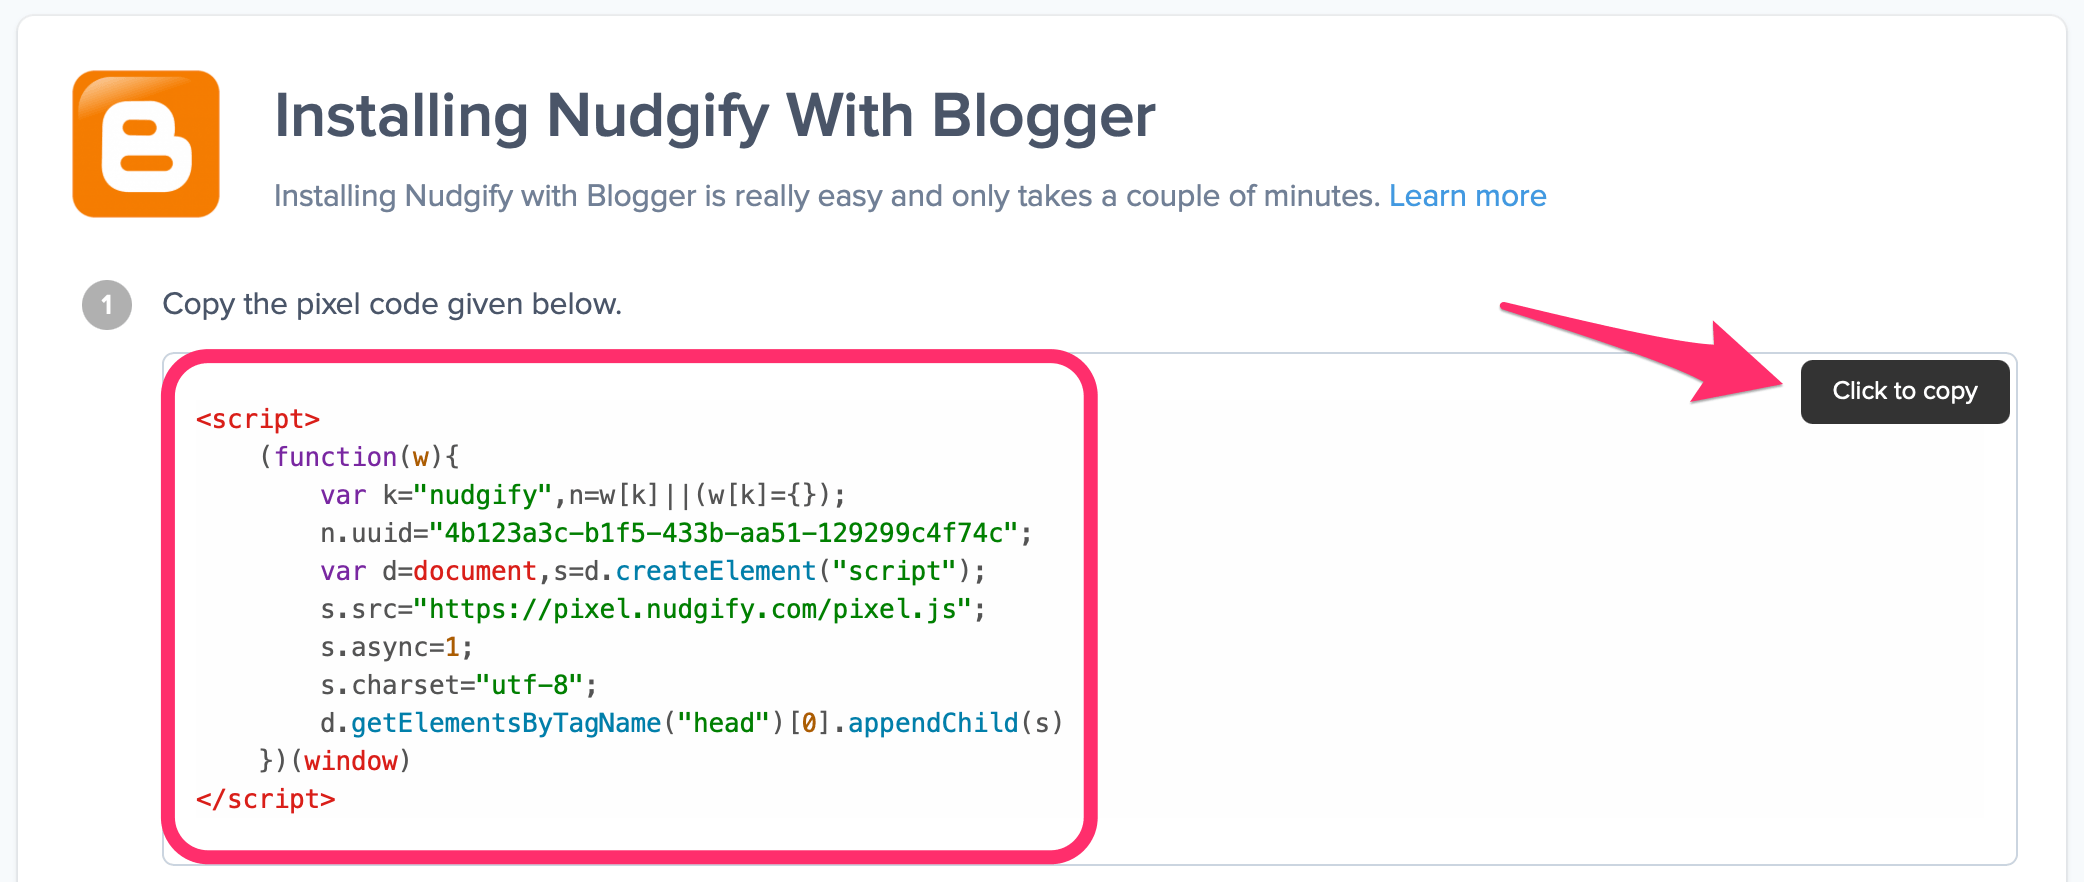
Now a window opens in which you can see a step-by-step guide in how to install your Nudgify Pixel. This Pixel is nothing more than a small line of code that you need to copy and paste into the code of your website.
Copy your Nudgify Pixel code:
Step 2: Add the Pixel to your Blogger site
- Login to your Blogger account and click “Layout” in the menu on the left.
- Click “Add a Gadget” and choose “HTML/JavaScript”.
- Choose a title, eg. ‘Nudgify’ and paste the Pixel in the text box that says ‘Content’.
- Click “Save“.
Step 3: Check if the Pixel is installed
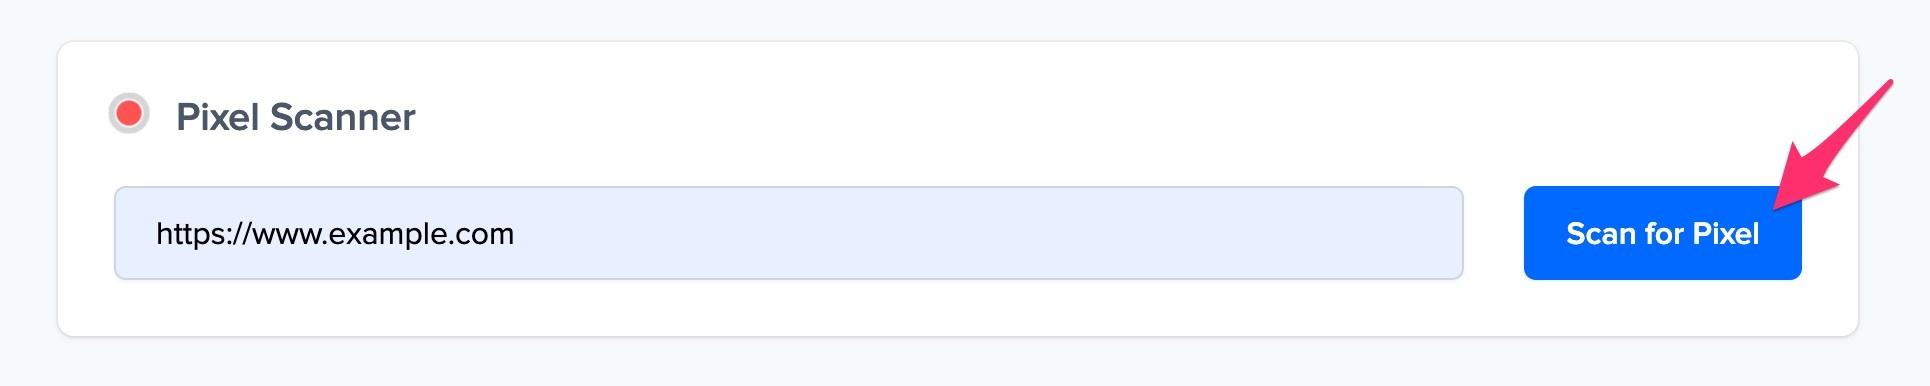
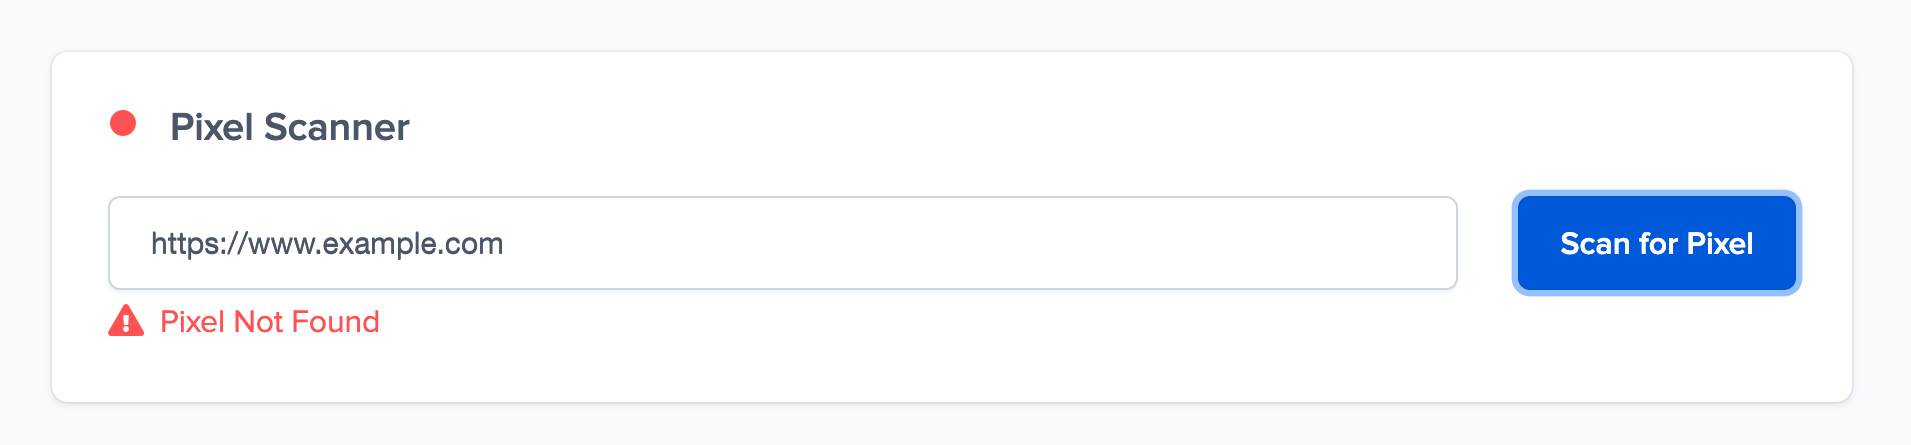
- Go back to Nudgify and click “Scan for Pixel” to see whether you have installed the Pixel correctly.
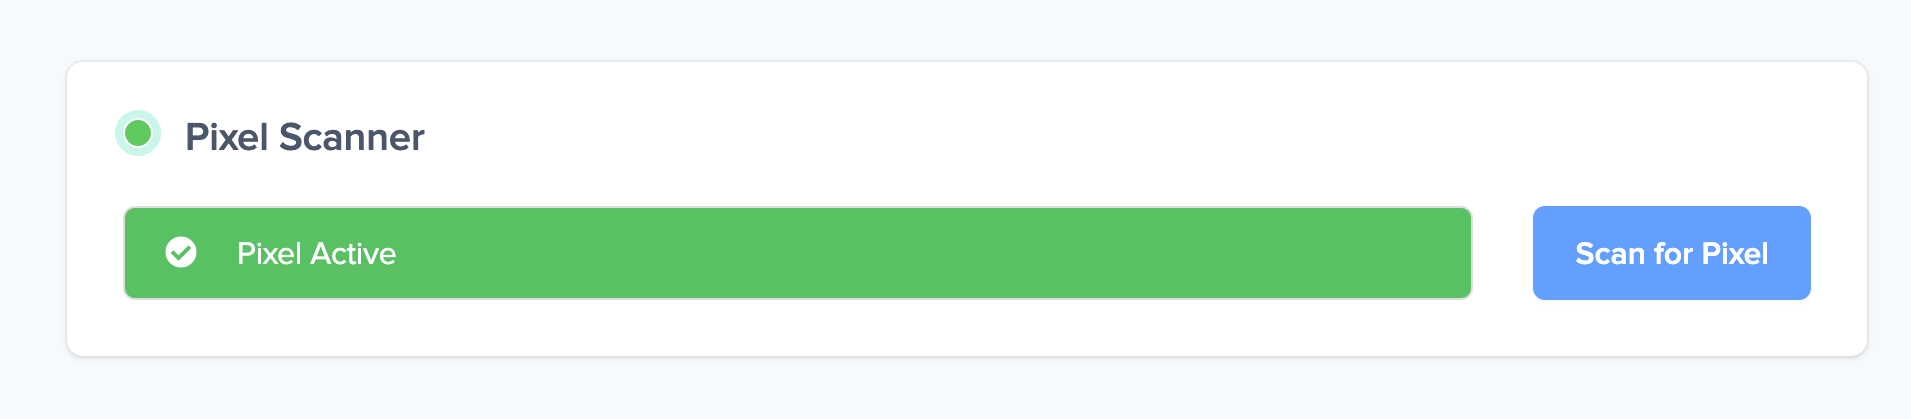
- Do you see the green “Pixel installed” message? Congratulations, you have installed the Nudgify Pixel on your website and you will be able to see the Nudges you create on the targeted pages!
- Do you not see the green “Pixel installed” message? This means that you haven’t yet installed your Pixel. Double check that you completed all the steps to install your Pixel and try again.
- Is your Pixel still not found? Click the blue chat bubble in the app where we can assist you 1-on-1 on setting up your Pixel.
You can now start adding Social Proof and FOMO Nudges to your Blogger website 