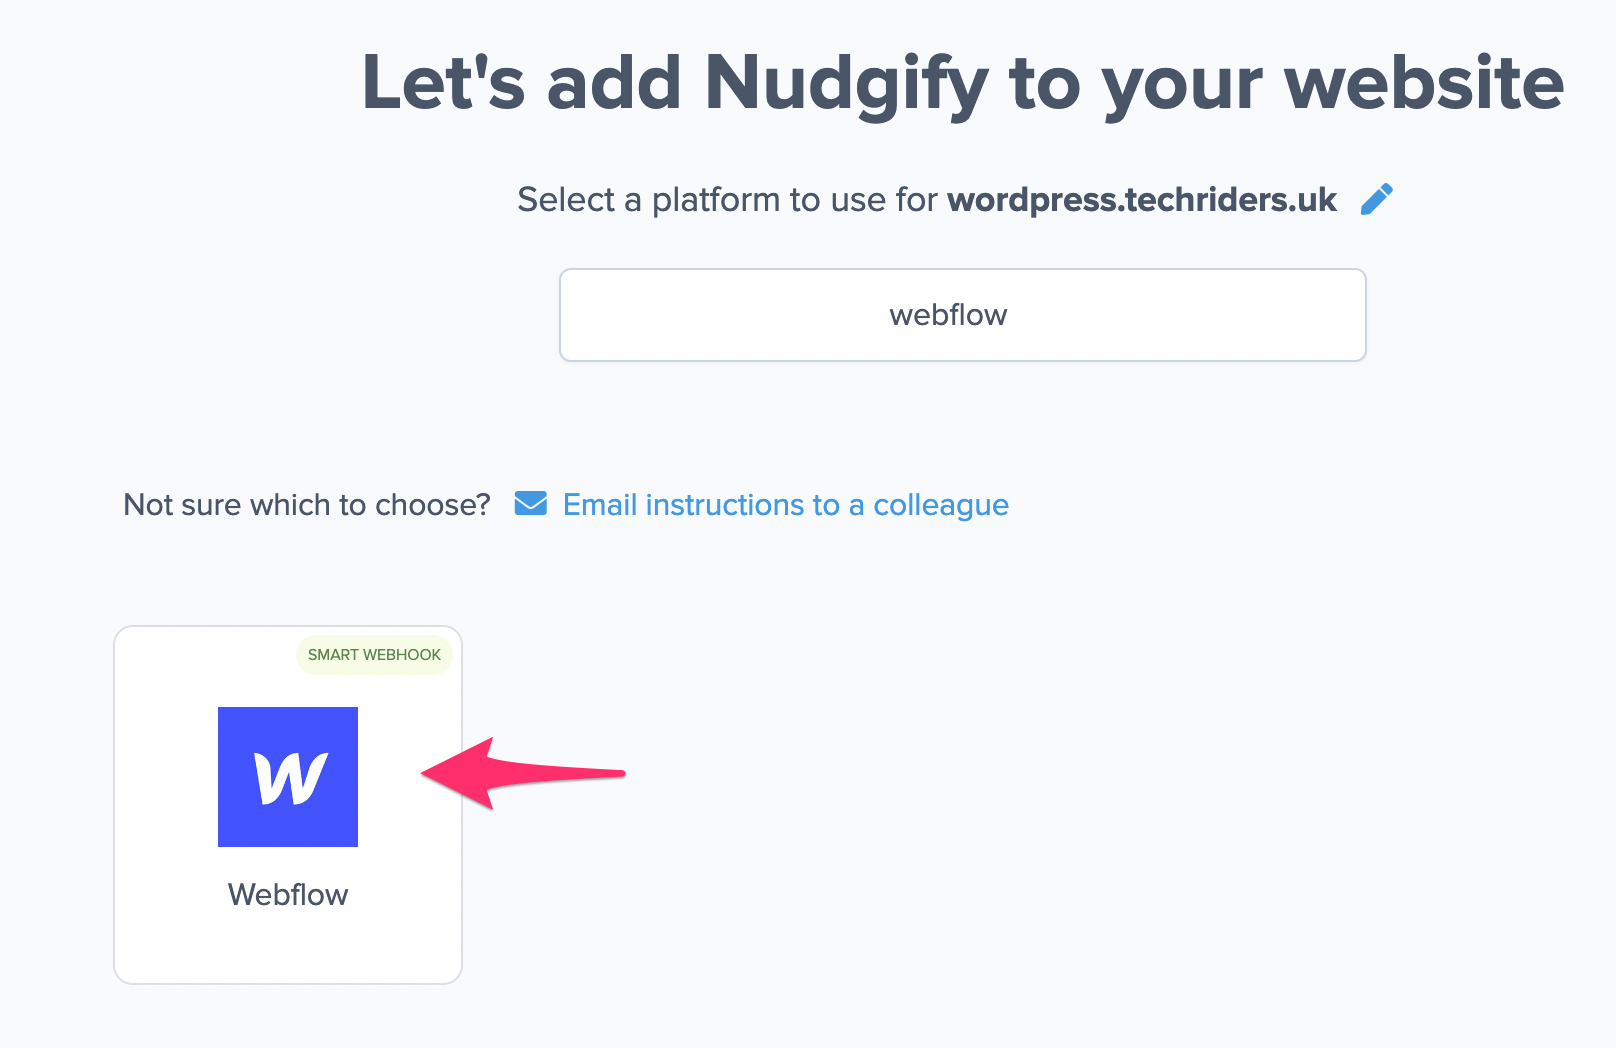
How to install Nudgify on Webflow?
Installing Nudgify on Webflow is really easy and only takes a couple of minutes.
With Nudgify, you can add Social Proof, FOMO Nudges and more to your Webflow website to boost your conversion rate.
Step 1: Copy your Nudgify Pixel code
Just sign up for Nudgify and select InstaPage as your integration.
Now a window will open in which you can see a step-by-step guide on how to install your Nudgify Pixel. This Pixel is nothing more than a small line of code that you need to copy and paste into the code of your website.
Copy your Nudgify Pixel code:
![]()
Step 2: Add your Pixel code to Webflow
- Go to your Webflow website and access the settings page for your website.
- Click on “Custom Code“.
- Paste the Nudgify Pixel code in the <head> section of the custom code area.
- Save the changes.
- Publish your Webflow website.
Step 3: Check if the Pixel is installed
- Go back to Nudgify and click “Scan for Pixel” to see whether you have installed the Pixel correctly.
![]()
- Do you see the green “Pixel Active” message and the red dot in the top left corner turn green? Congratulations, you have added the Nudgify Pixel to your Webflow site!
![]()
- Do you not see the green “Pixel Active” message? This means that you haven’t yet installed your Pixel. Click the blue chat bubble in the app where we can assist you 1-on-1 on setting up your Pixel.
Turn your Webflow sign-ups into Social Proof & FOMO
Do you want to display Social Proof & FOMO notifications on your website (or any website!) using your Webflow sign-ups?
It takes a few minutes to connect your Webflow to Nudgify with our Webflow Integration: