The Custom Nudge Groups feature allows you to display different Nudges for specific pages, eg. for a particular catalog or product page. This is useful especially if the product categories you offer are diverse. It also allows you to show Nudges only on specific devices, such as mobile or desktop.
Here’s how you can create Custom Nudge groups for your store.
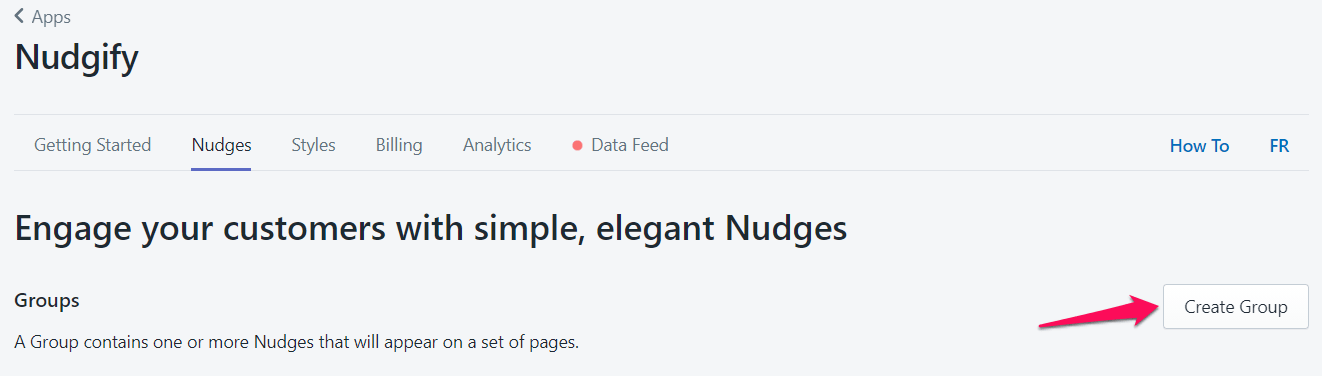
Create A Custom Nudge Group
To create a new Custom Nudge Group, click on “Create Group”.
Fill out the form that appears:
- Give your Group a name
- Enter the URL of the page you wish to target with your Group (the page on which the Nudges you add to this Group will show). This can be any URL you wish, including URLs with query-string parameters (eg.?utm_campaign=partners). How to target multiple pages is explained below.
- Enter the devices you want your Nudges to show on. You can choose desktop, tablet and mobile.
- Enter the URL in the Preview URL box to enable previewing your Nudges on this page

Once you’re done, click “Create group”.
Note that you should include each page in one Group only. If you add a page to several Groups, only the Nudges in the first Group to which you added the page will show, and your new Nudges won’t show on the page.
Targeting Multiple Pages
The URL targeting also allow you to set the Nudges in your Custom Group to show on multiple pages.
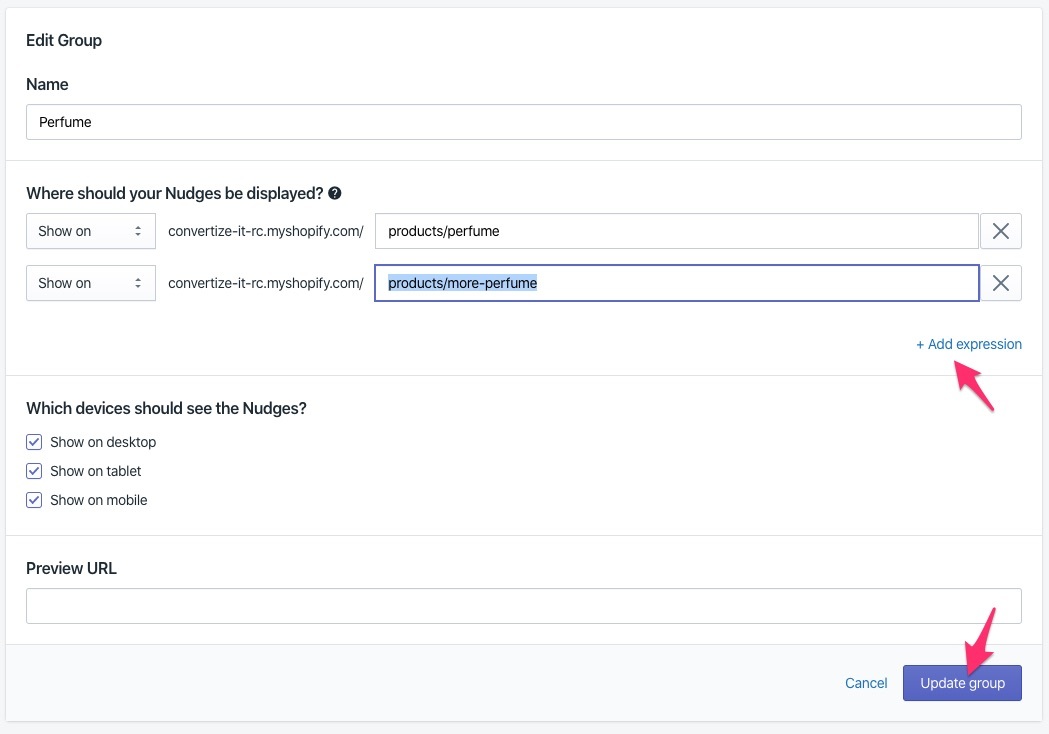
You can click “Add expression” to enter more URLs.

If you want the Nudge to be shown on a set of pages, you don’t need to create a new expression for each page. Instead, you can use asterisk which means ‘any set of characters goes here’.
For example: Show on convertize-it-rc.myshopify.com/products/perfume/*
-
- Includes convertize-it-rc.myshopify.com/products/perfume
- Includes convertize-it-rc.myshopify.com/products/perfume/gifts
- Does not include convertize-it-rc.myshopify.com/products/make-up
Excluding Pages
By using “Don’t Show On”, you can exclude specific pages from the pages you set with the “Show on” expressions.
For example: Show on convertize-it-rc.myshopify.com/products/perfume* combined with Don’t show on convertize-it-rc.myshopify.com/products/perfume/gifts
- Includes convertize-it-rc.myshopify.com/products/perfume
- Includes convertize-it-rc.myshopify.com/products/perfume/sale
- Does not include convertize-it-rc.myshopify.com/products/perfume/gifts
Editing Nudge Groups
If you need to amend or change the settings of a Custom Group you have already created, follow these steps.
- Select the group you want to edit by clicking on “Nudges”.

- You can now check the URL targeting you set for the Group under “Settings”. If you want to make changes, click “Edit group”.
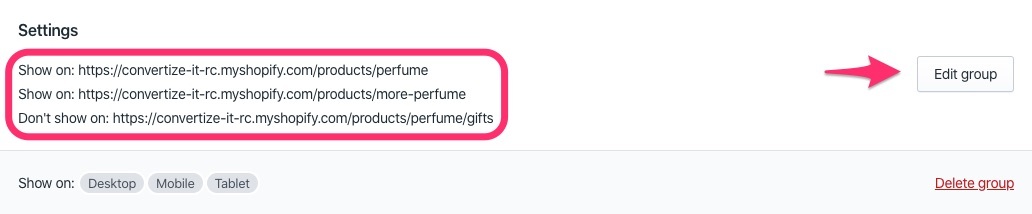
- Fill out the form with the changes you want, for example adding an expression, and click on “Update group” to save.
How To Preview Nudges In A Custom Group
In order to preview Nudges In a Custom Group, you will need to enter the URL of the page in the Preview URL text box.

Now, in the Nudges tab, clicking on the preview button next to your Custom Group will give you a preview of your Nudges on that page.
