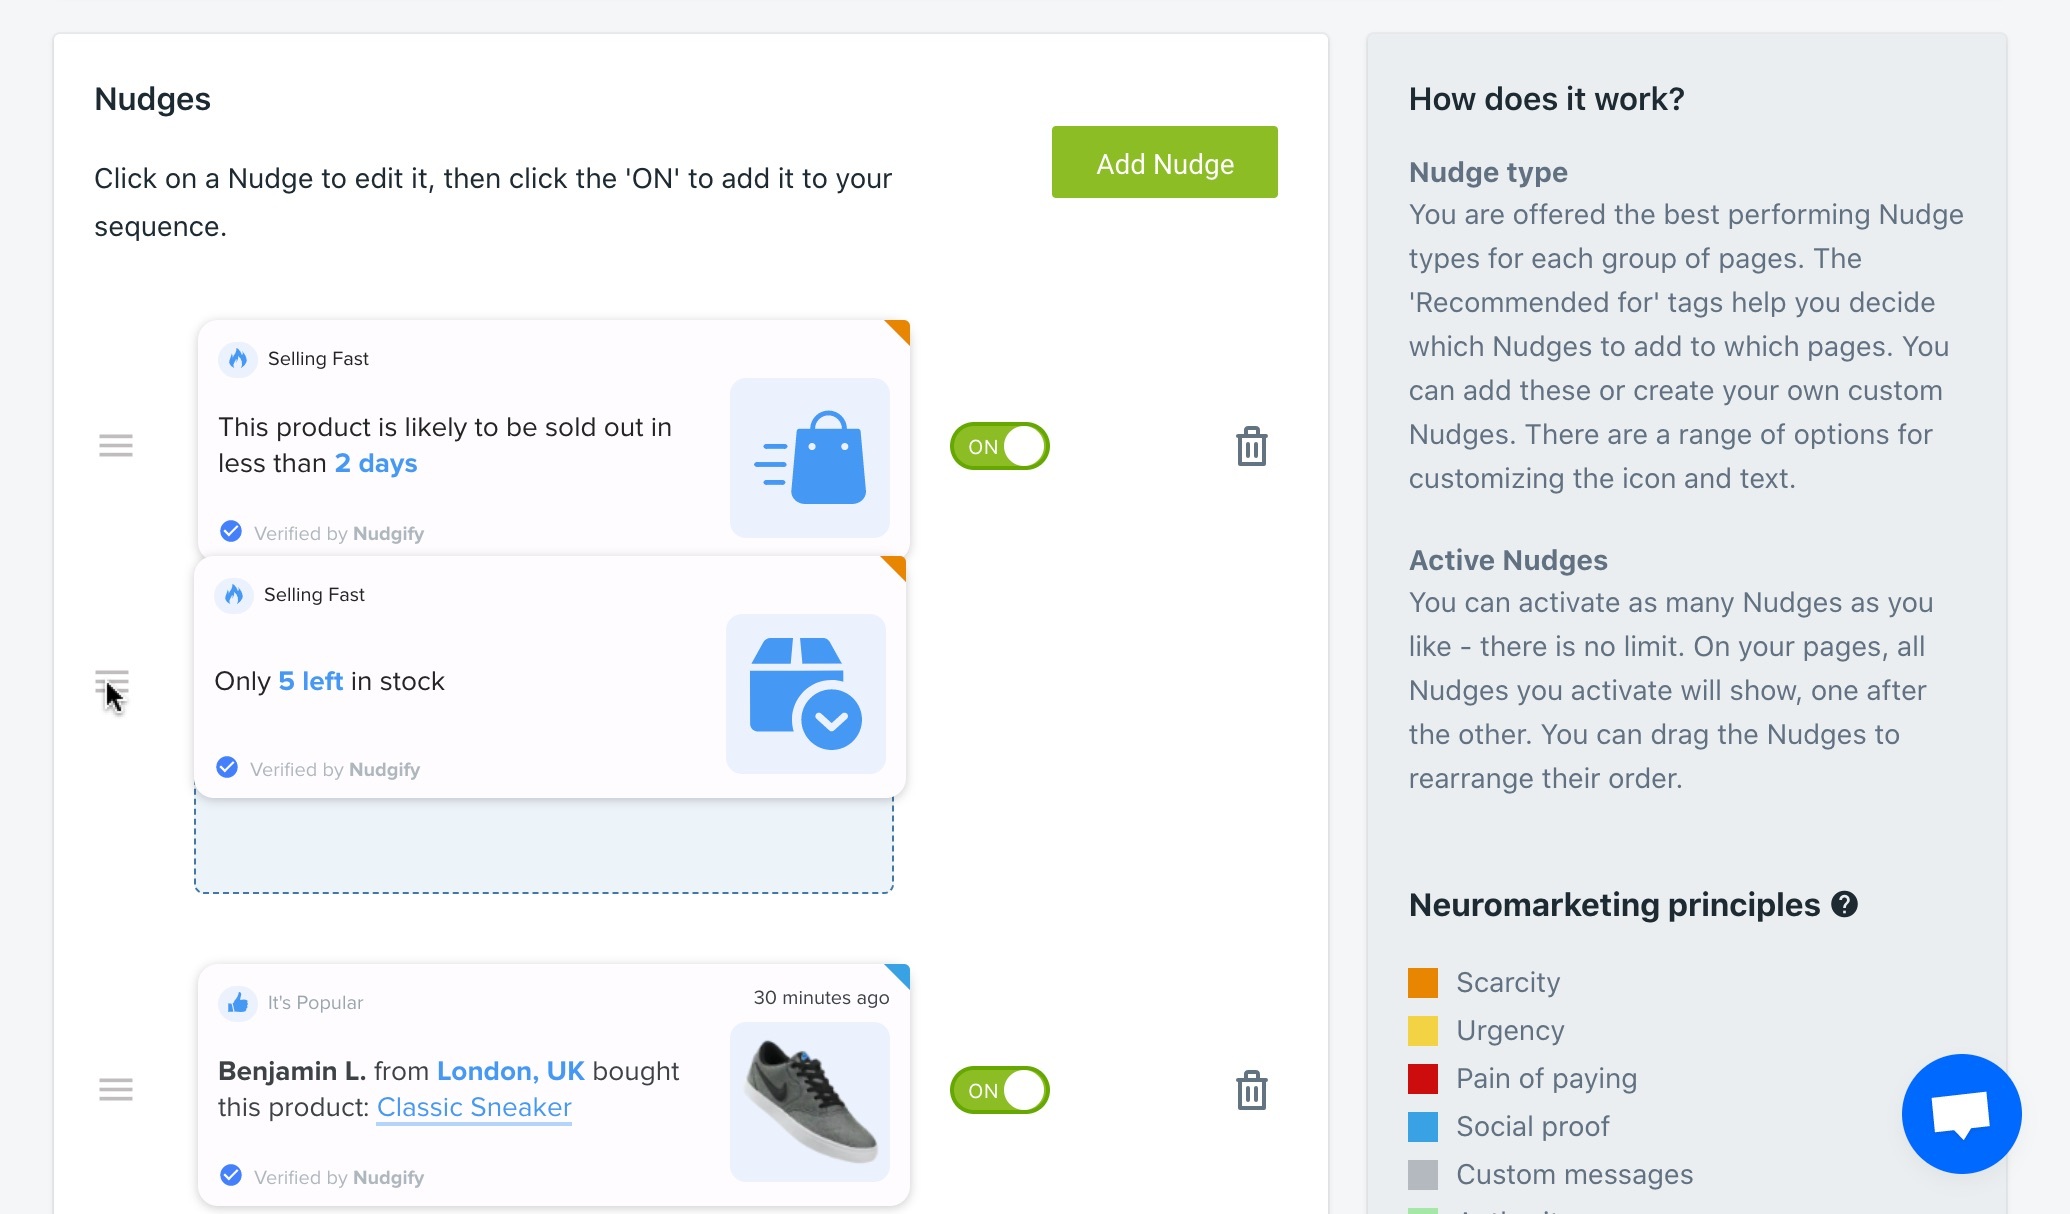
Nudgify offers a full suit of Nudges to increase your sales and improve customer experience. The Nudges are based on a variety of psychological principles, such as Social Proof, FOMO, Friction, and Urgency to help your Shopify store. You can also create Custom Nudges to write your own message.
Here’s how you can add Nudges to your store.
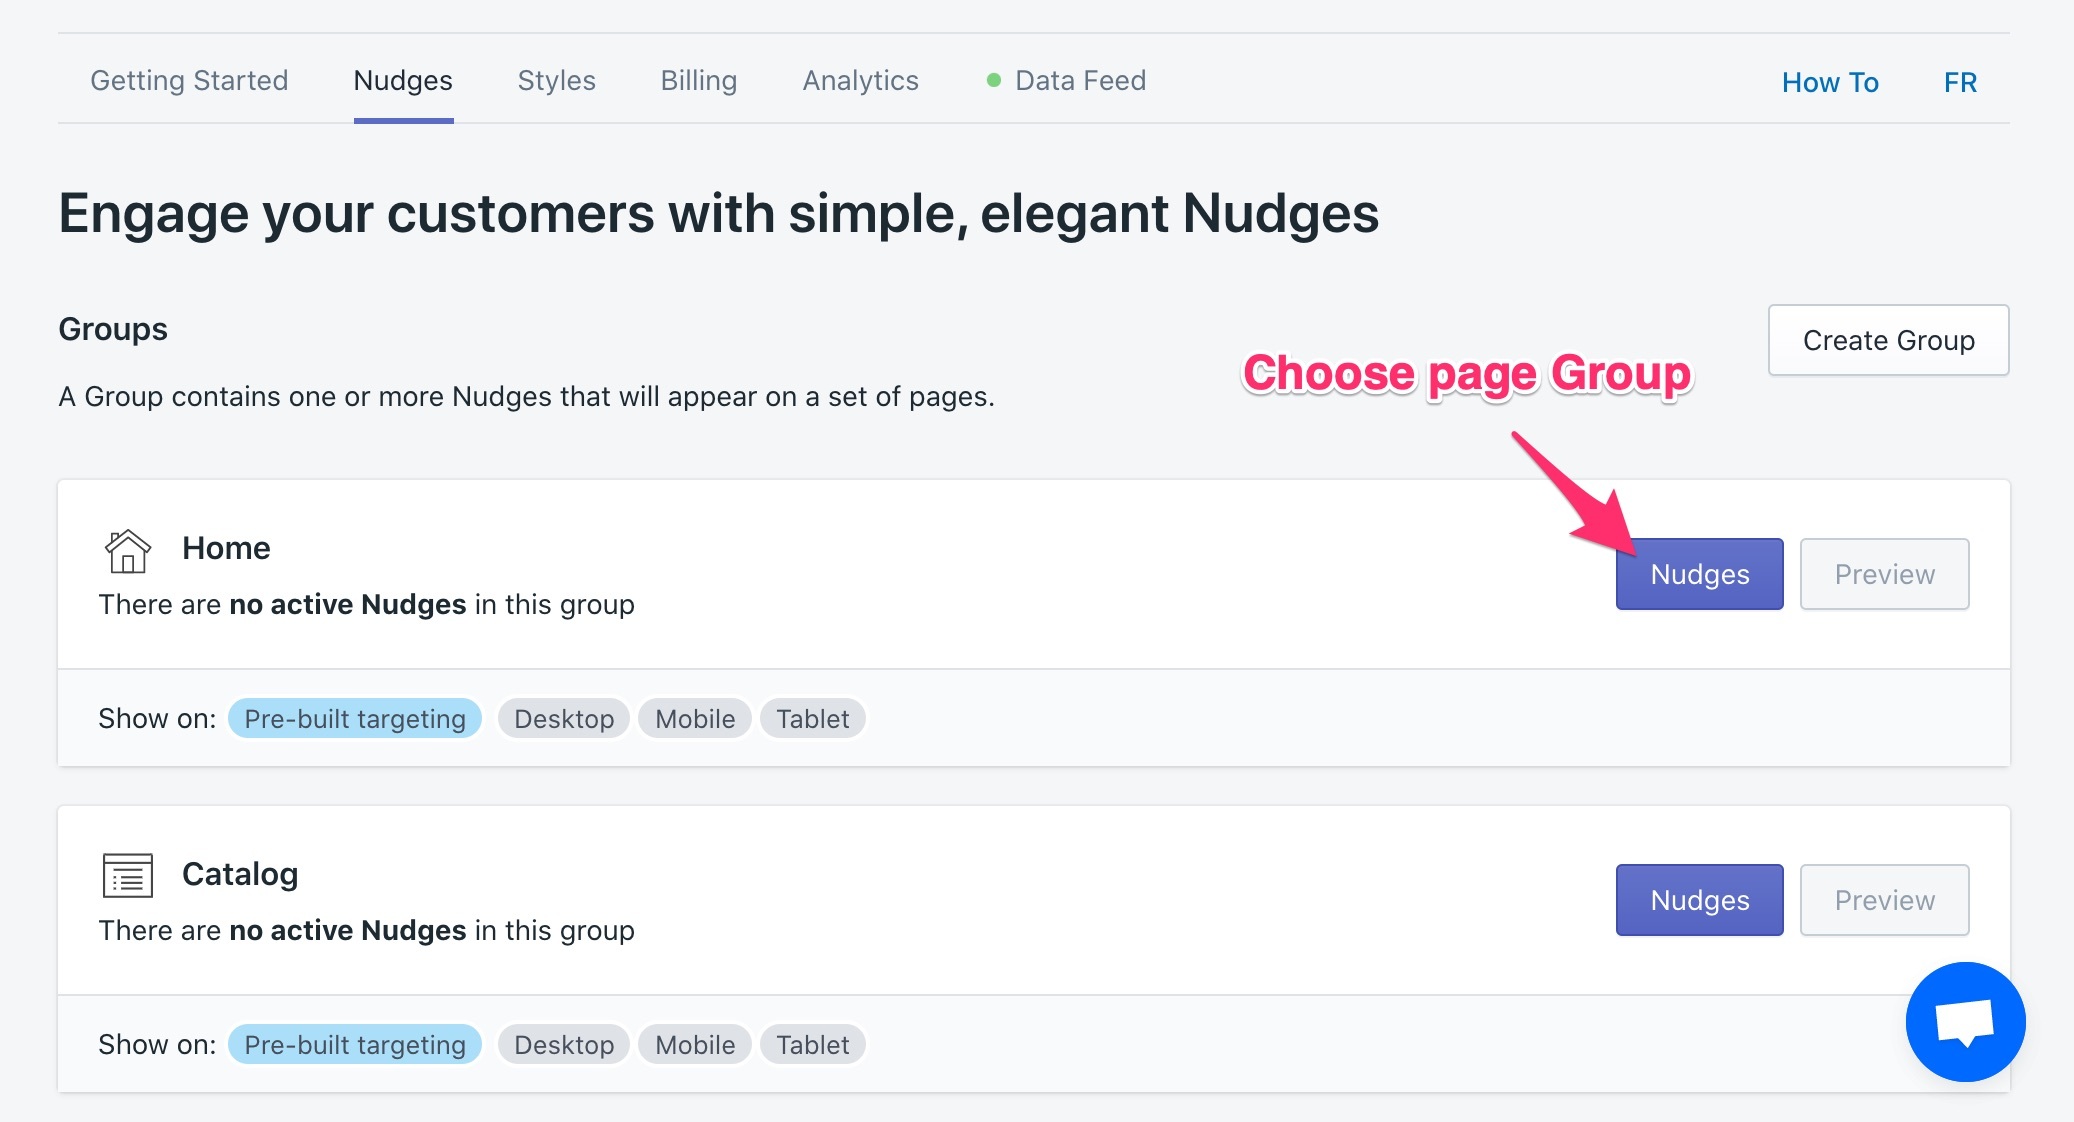
Step 1: Choose a Group
Choose the set of pages where you want to add your notifications, for example you home page or your product pages. Click on “Nudges”.
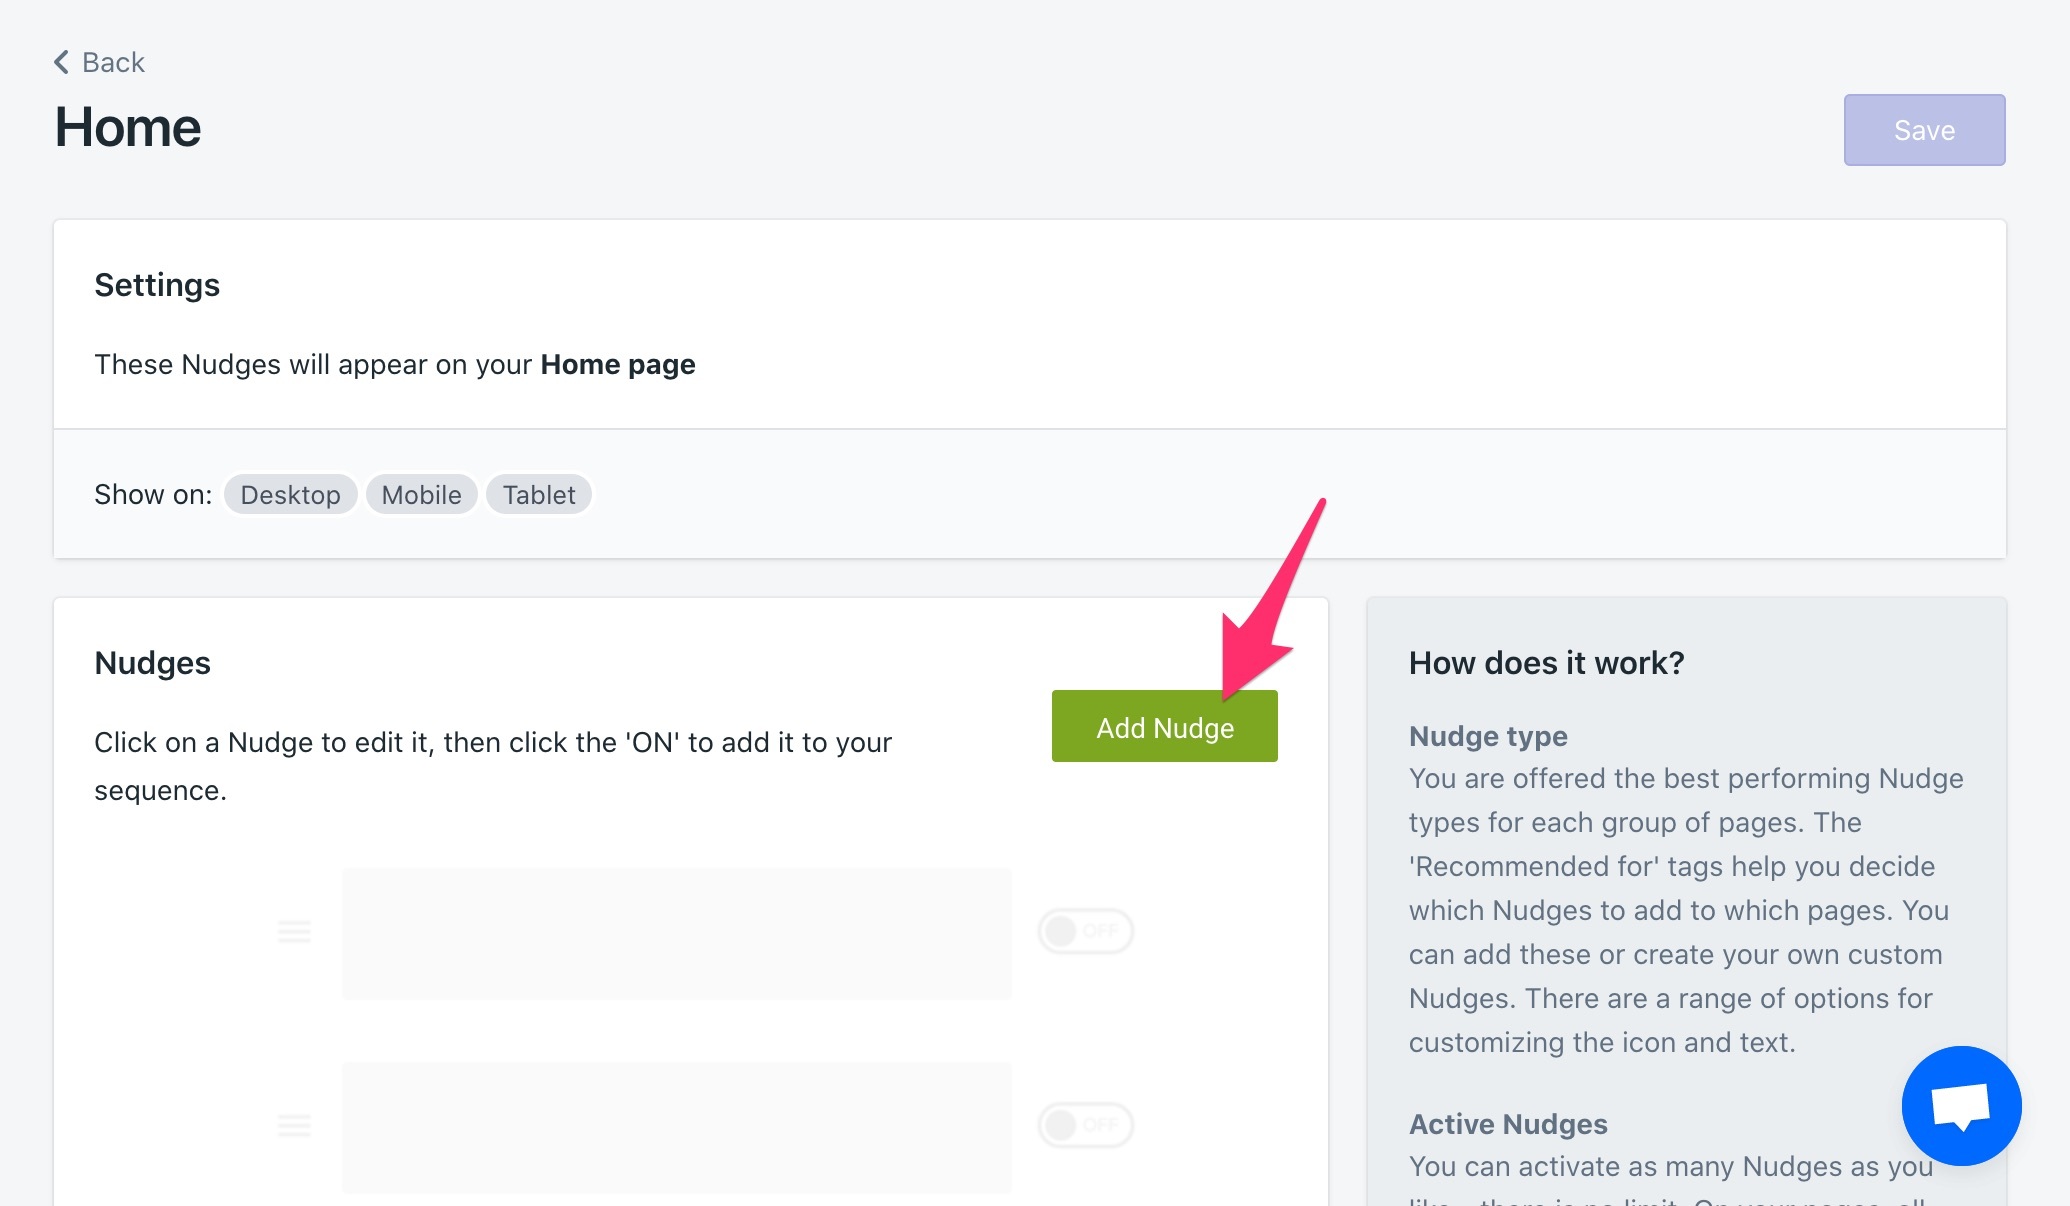
Step 2: Add Nudges
You can add a new notification by clicking on “Add Nudge”.
Step 3: Choose Notifications From The Nudge Library
You can now choose and add Nudges from the Nudge Library.
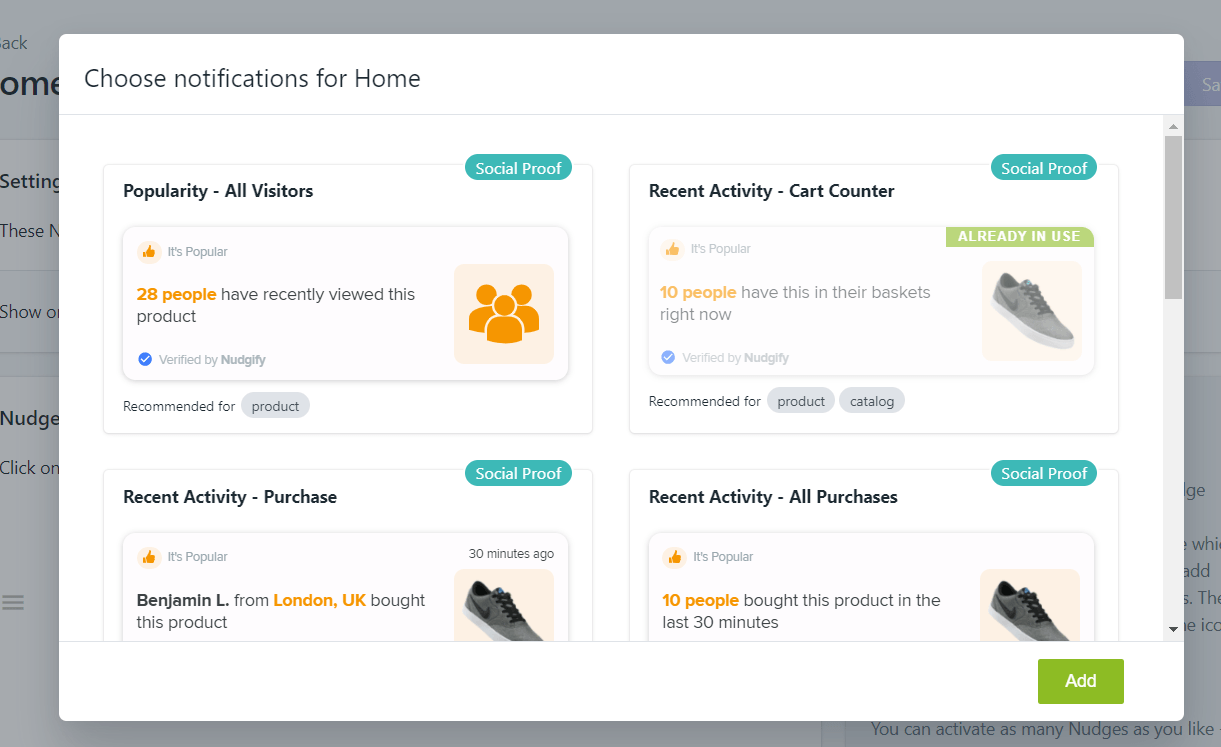
We offer a variety of Nudges for Shopify, based on Social Proof, FOMO and more. You can find the following Nudge types in our Nudge Library:
- Discount Nudge – Promote a discount in a Nudge and let online shoppers apply the discount with a check-box within the notification
- Free Delivery Nudge – Set a target total for free delivery and encourage your customers to add to their basket
- Popularity Nudge – Show how many people have viewed the product recently, building trust and credibility effortlessly
- Cart Counter Nudge – Show how many people have a product in their baskets right now
- Recent Purchase Nudge – Get a sales boost every time someone places an order. Create Social Proof automatically and encourage cross-sells
- Low Stock Nudge – Give your customers real data from your stock room, increasing their desire to buy
- Selling Fast Nudge – Tell your customers when a product is likely to sell out, so they stop procrastinating and click “Buy”
- Order Soon Nudge – Show your customers the deadline for a delivery date and tell them how long they have left to place the order
- Custom Nudge – Write your own message and add it to any page. Upload a picture, add a link, or introduce an offer
Choose all the Nudges you need. Click on them to add them on your shop. You can always add more Nudges later. Nudges that are already in use will be faded (so that you don’t display the same message twice).
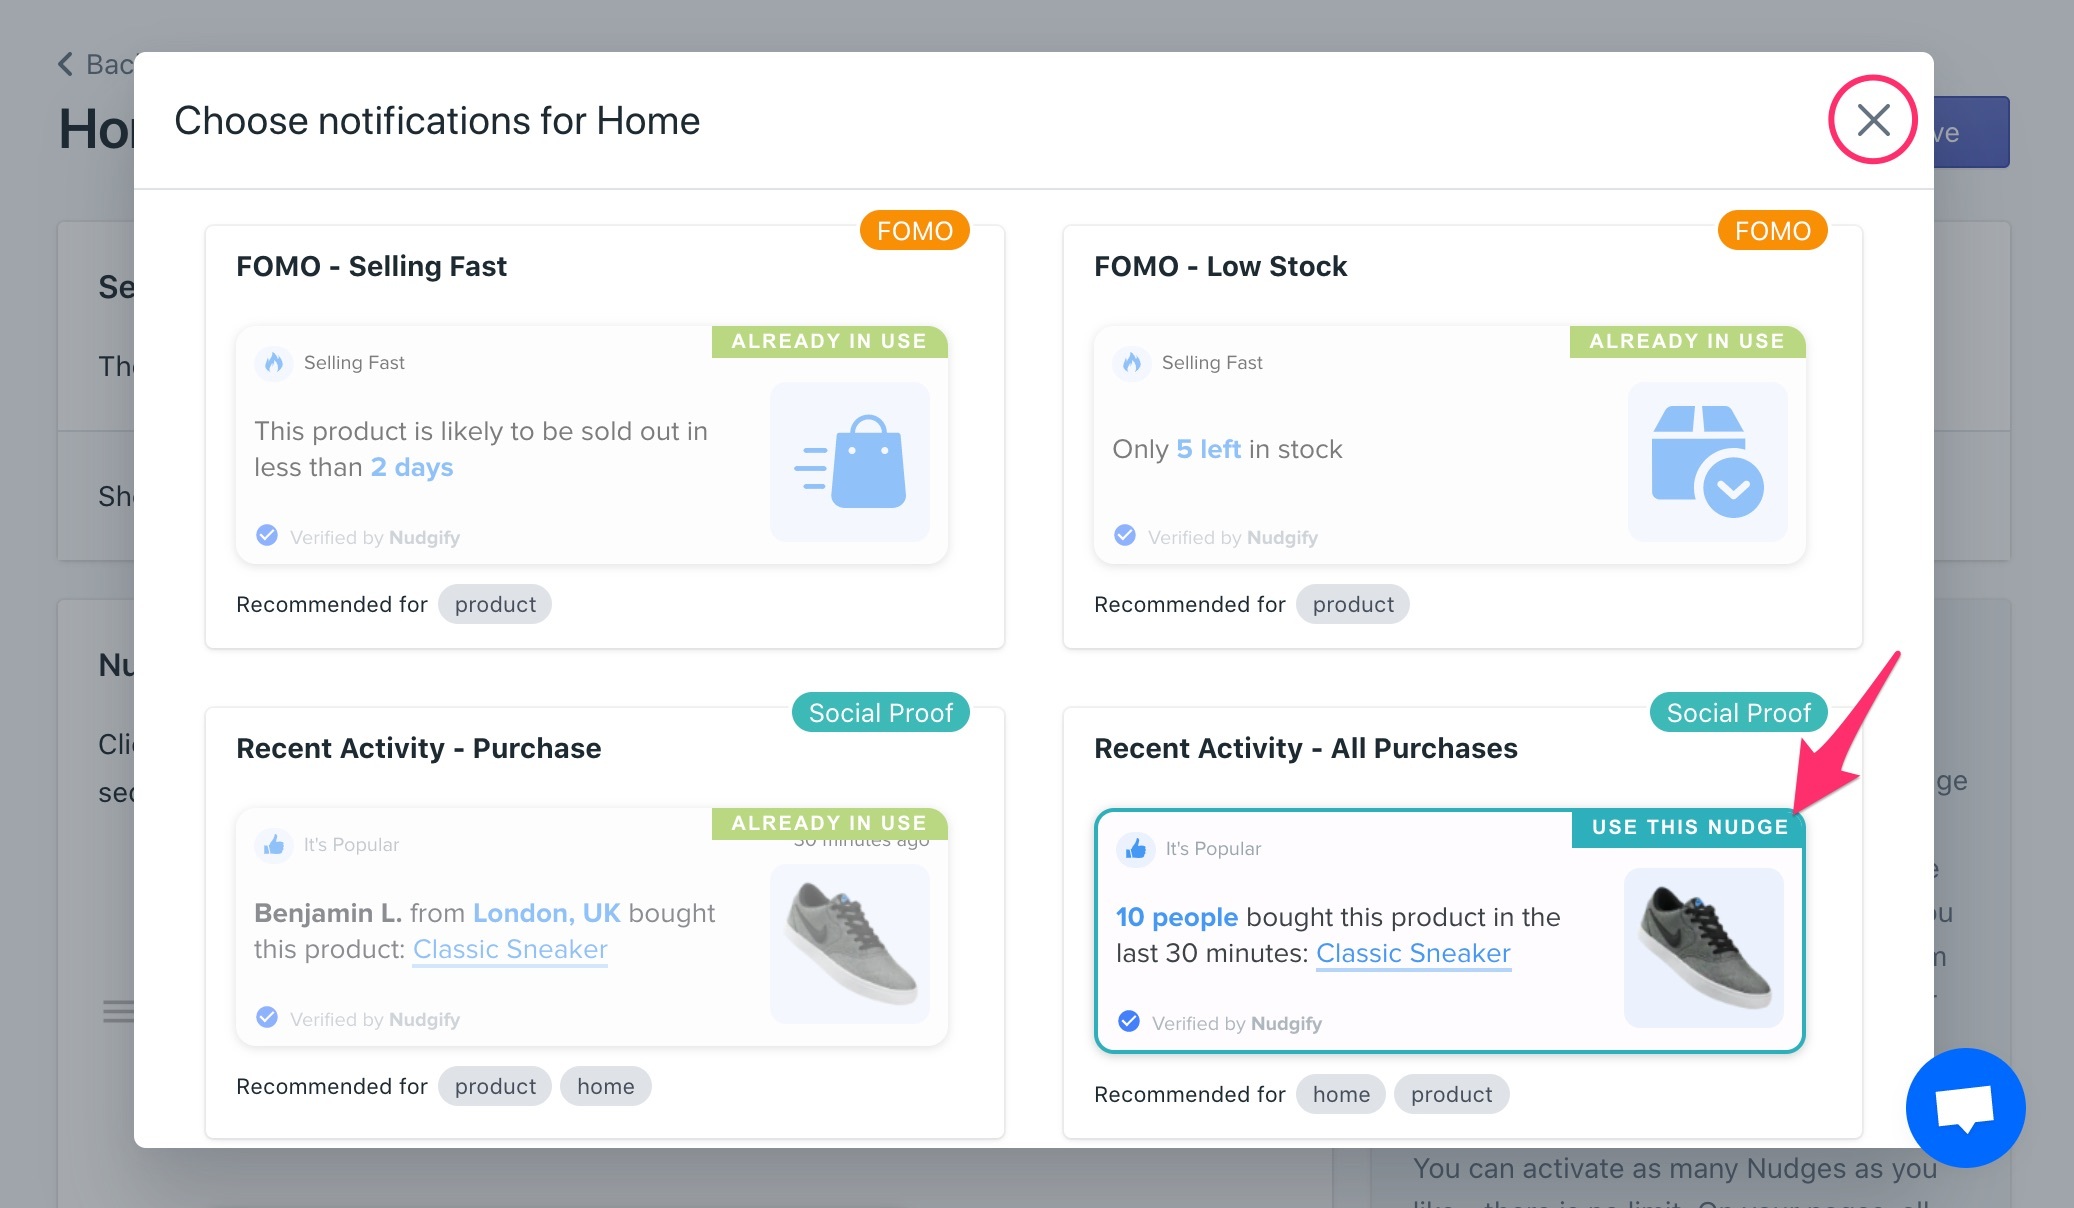
Once you’ve added all the Nudges you want, click the cross to close the library.
Step 4: Configure your Nudges
You can now see all the Nudges you added in your Group. They are not active yet. Before you activate your Nudges, you can click on each Nudge to change the settings.
To change the settings of a Nudge, hoover over it. A green border with ‘EDIT’ will now appear. Click on the Nudge.
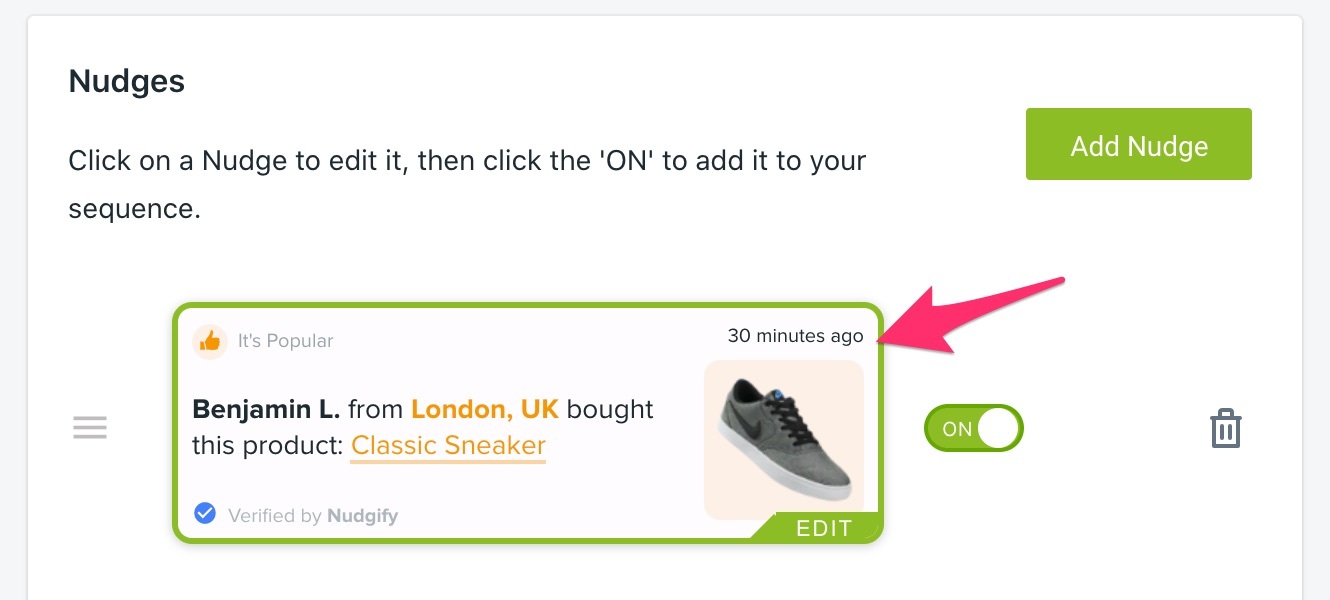
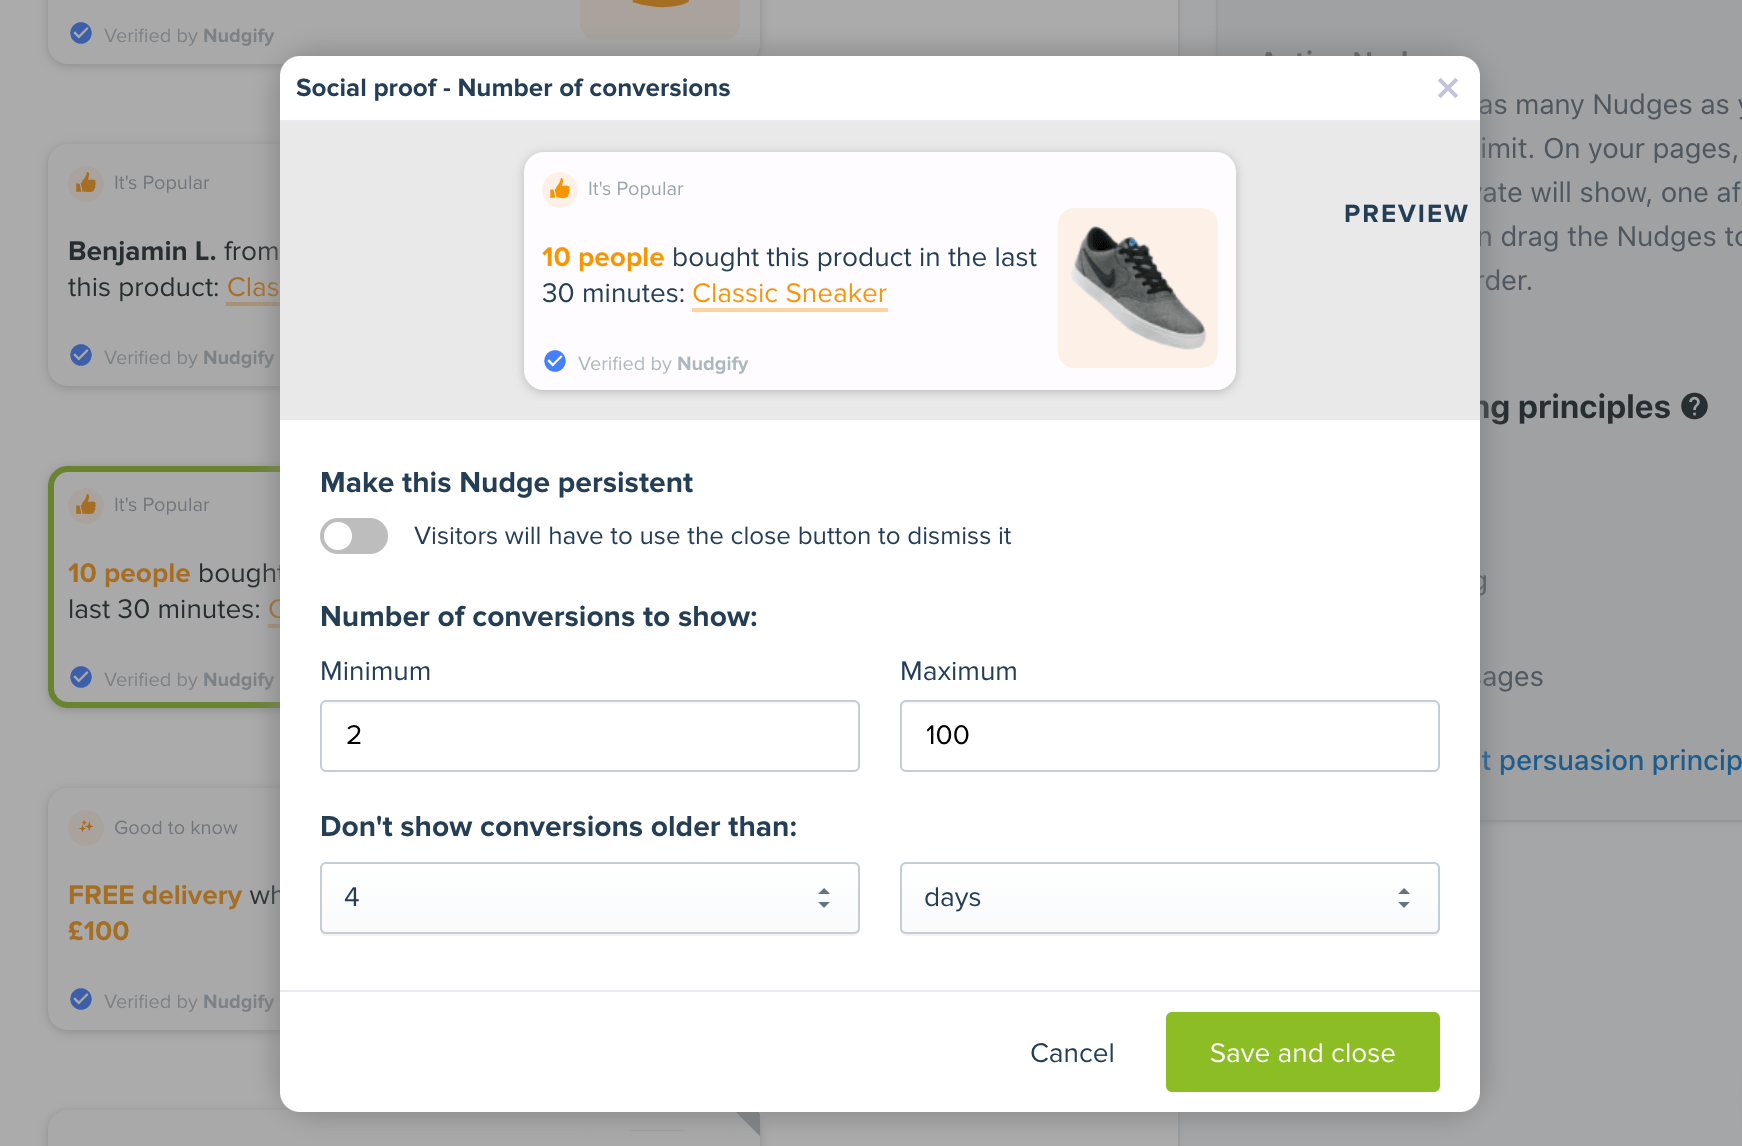
A configuration screen will now appear. Depending on the type of notification, you can set certain parameters and change settings.
For the Social Proof Nudge below, for example, you can adjust how many purchases you want to show and set a maximum age for the purchases.
To see the configuration options for each Nudge type, see this list of guides per Nudge type.
In addition to Nudge specific settings, you can decide for each Nudge if you want to make it “persistent”. Read more about making Nudges persistent.
Once you have changed the settings you want, click “Save and close”.
Step 5: Activate your Nudges
Now that you have configured each Nudge the way you want, it is time to activate your Nudges. Simply toggle the OFF/ON button for each Nudge
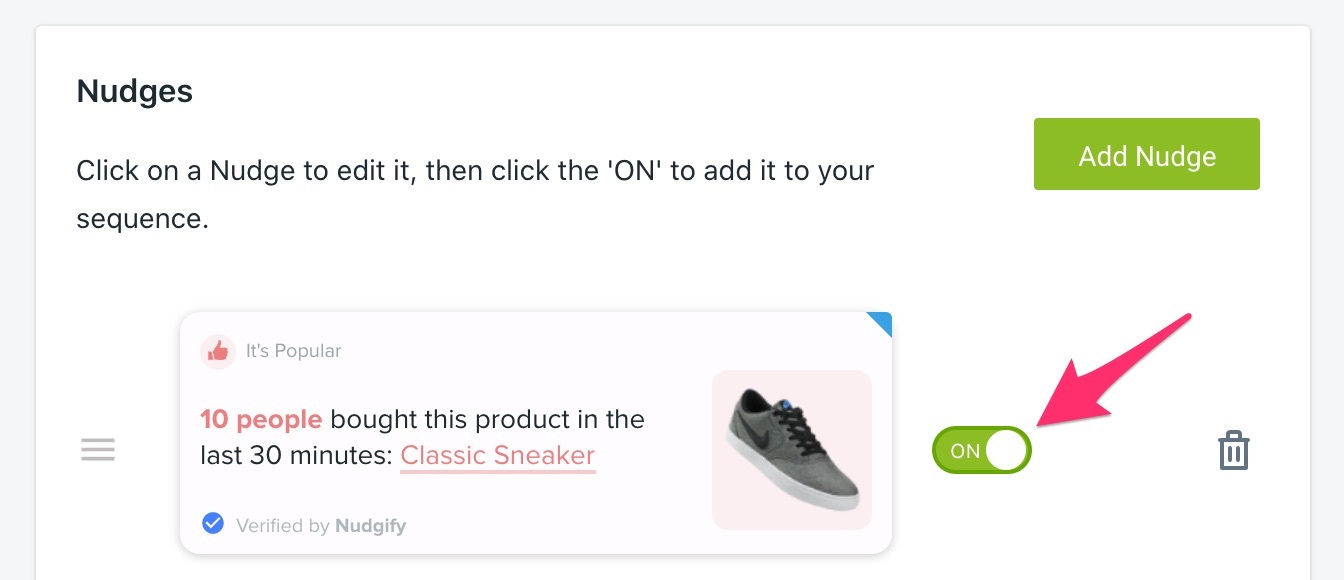
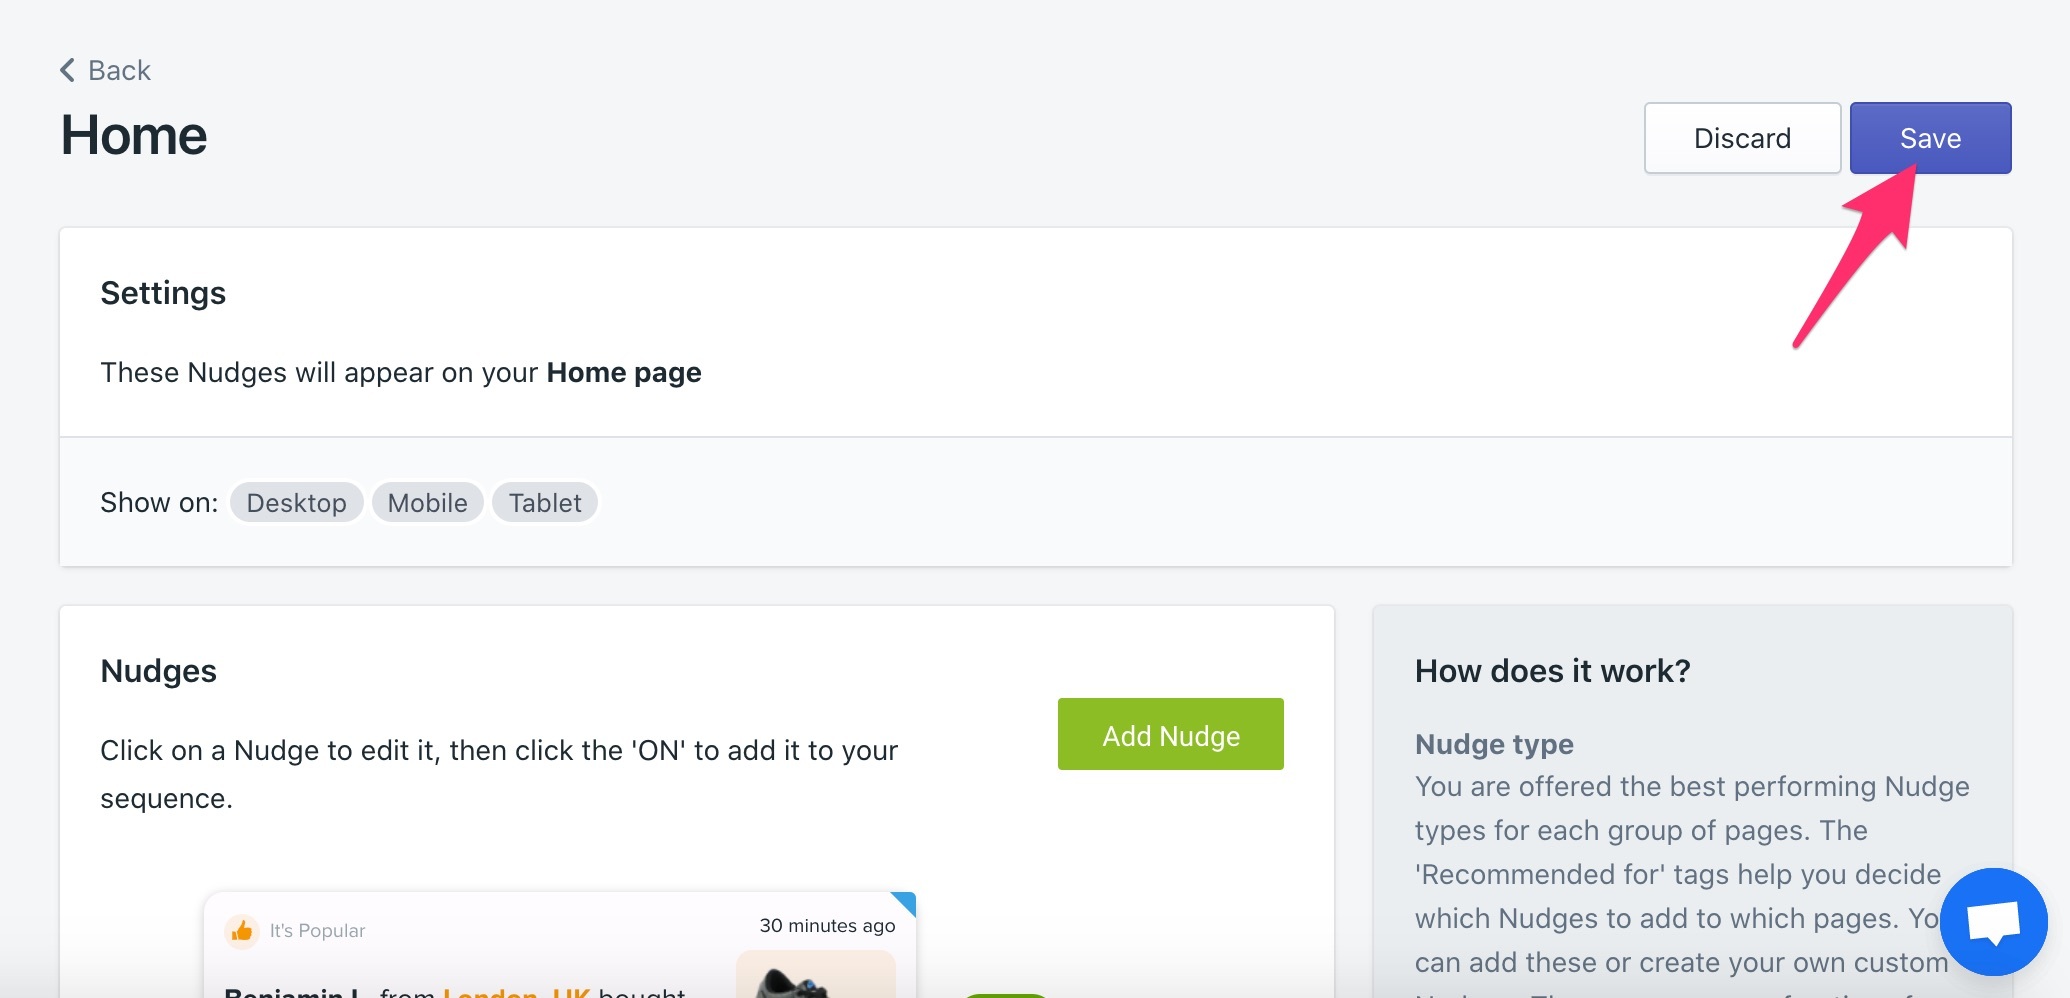
Now click the purple “Save” button on the top right.
The Nudges are now active and showing on your pages!
Repeat this process for each of the Nudge Groups (set of pages). You can also add Nudges to all your pages in one go by creating a Custom Nudge Group. This allows you to target all your pages.
Reorder Nudges
You can add as many Nudges as you like to each Nudge Group (set of pages). The Nudges will show up in a stream, one after the other, in the order you added them.
You can always adjust the order of your Nudges by clicking the three lines next to each Nudge and dragging it to another position.
