The Nudgify JavaScript API offers developers the opportunity to push JavaScript variables into Nudges.
You can push different JavaScript variables depending on which Nudge Type you choose. For Free Delivery Nudges, Low Stock Nudges, and Selling Fast Nudges, you can push cart and product variables. For Custom Nudges, you can push your own variables.
The Nudgify JavaScript API lets you push the variables by adding an extra piece of code to your Nudgify Pixel.
List of Variables
| Variable | Description | Code Example |
| cart | Current cart value for in Free Delivery Nudges |
amount – Replace ‘null’ with the actual amount that is currently in the cart of the online shopper |
| product | Product information for in Low Stock and Selling Fast Nudges: number of items in stock, product image, and product id |
stock – Replace ‘null’ with the actual stock level of this product. This has to be a number |
| variables | Any variable you wish to push in your Custom Nudges |
yourcustomvalue – Replace ‘yourcustomvalue’ with the key you have defined for the value you wish to push into your Custom Nudges. Replace ‘null’ with whatever value you wish to push.
|
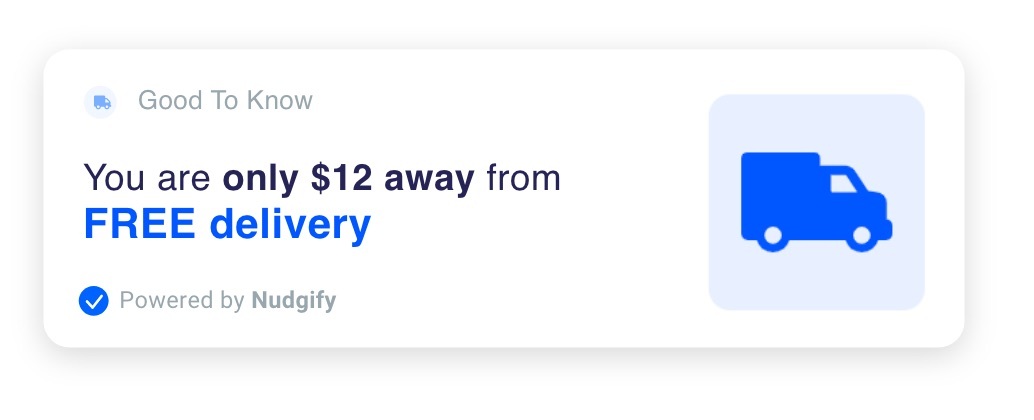
JavaScript API for the Free Delivery Nudge
The Free Delivery Nudge calculates how far away an online shopper is from getting free delivery. To do this, it needs information on the current cart amount and currency of the online shopper. With the Nudgify JavaScript API, you can push this information via the cart variable in your Nudgify Pixel.
 When you add the Free Delivery Nudge, we add a line for you to your Nudgify Pixel where you can specify the values of your cart JavaScript variables.
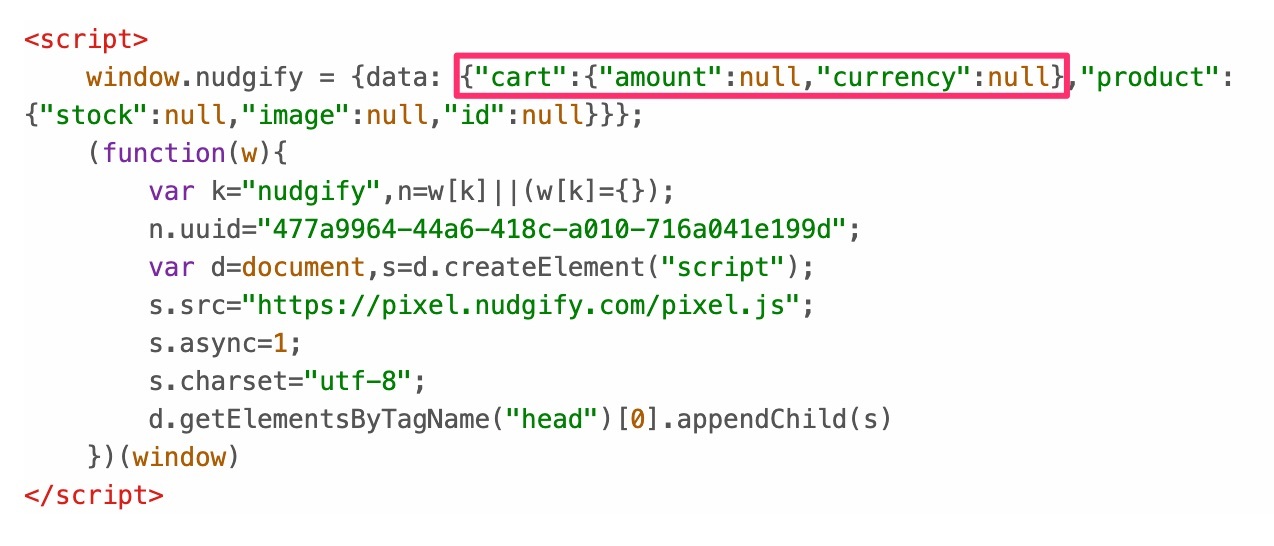
As you can see below, the first line of the Pixel contains the cart variables “amount“ (= the cart value) and “currency“. The values of these variables are set to “null” by default, but you can change them to pass the cart data from your website to the Free Delivery Nudge.
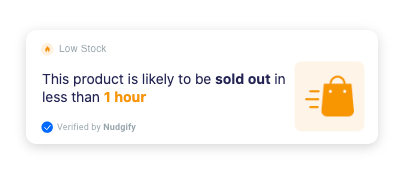
JavaScript API for the Low Stock Nudge
The Low Stock Nudge shows how many items of a product are left in stock. To do this, it needs product information from the product page. You can push the stock number, the product image, and the product id via the product variable in your Nudgify Pixel.
On the first line of the Nudgify Pixel, we have reserved a spot for you to specify the values of your product JavaScript variables.
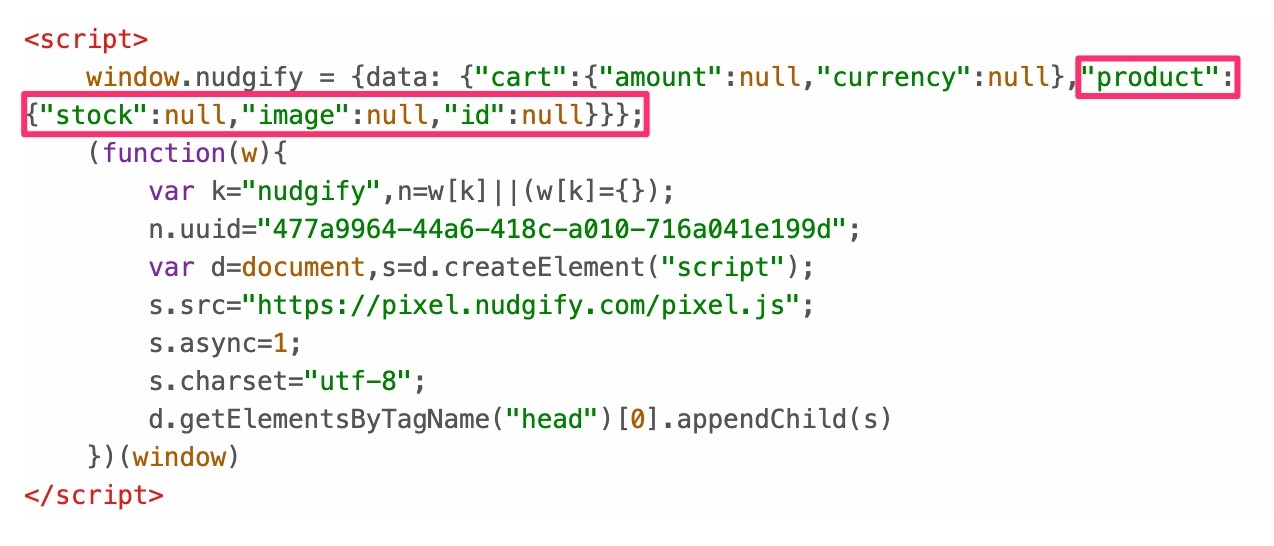
As you can see below, the first line of the Pixel contains the product variables “image“ (= the product image), “stock” (= the product’s stock level), and “id” (= the product id, so we know which product it is). The values of these variables are set to “null” by default, but you can change them to pass the product data from your website to the Low Stock Nudge.
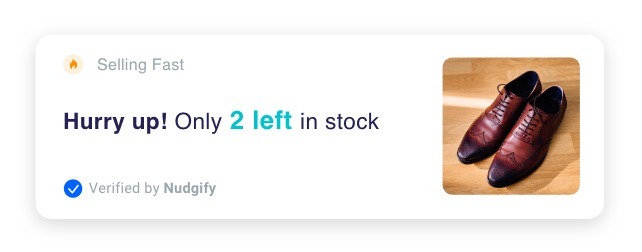
JavaScript API for the Selling Fast Nudge
The Selling Fast Nudge shows how quickly a product might sell out. To calculate this, it uses the stock levels and purchase information of the product. You can push the stock number, the product image, and the product id via the product variable in your Nudgify Pixel.
Note: the purchase information cannot be pushed via JS Variables. You can connect your purchase data separately, via our Zapier integration, or via our REST API.
On the first line of the Nudgify Pixel, we have reserved a spot for you to specify the values of your product JavaScript variables.
As you can see below, the first line of the Pixel contains the product variables “image” (= the product image), “stock” (= the product’s stock level), and “id” (= the product id, so we know which product it is). The values of these variables are set to “null” by default, but you can change them to pass the product data from your website to the Selling Fast Nudge.
JavaScript API for Custom Nudges
With the Nudgify JavaScript API, you can pass your own variables from your site in your Custom Nudge messages using braces { }. This allows you to create messages such as:
- Search hundreds of deals on flights from {city}
- {percentage}% discount on all {category}
- We have stores in {location-number} locations across {country}
- We offer a {warrantyyears}-year warranty on all {category}
The possibilities are (almost) endless. You can use any value, as long as it is an allowed JSON data type:
- a string (words)
- a number
- an object (JSON object)
- an array (list)
- a boolean (true / false)
- null
How can I pass JavaScript Variables in Custom Nudges?
To pass JavaScript Variables into a Custom Nudge, you need to:
- define the variables in your Nudgify Pixel
- push the variables in your Custom Nudge message with braces { }
Step 1: Pass the variables in your Nudgify Pixel
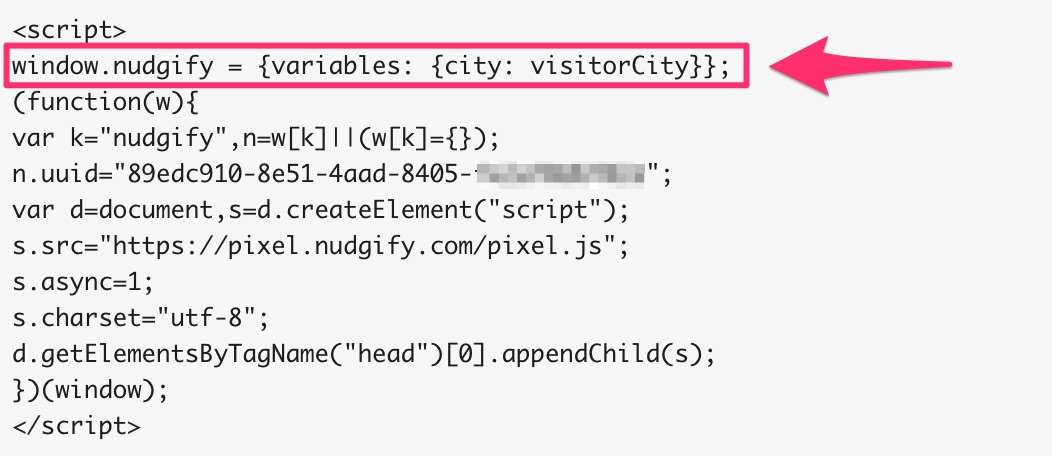
Push your variable into your Pixel with the key and value names you have given the variable on your site, for example “city: visitorCity”
In your Pixel, add them directly below <script> and above the function, which starts with (function(w){.
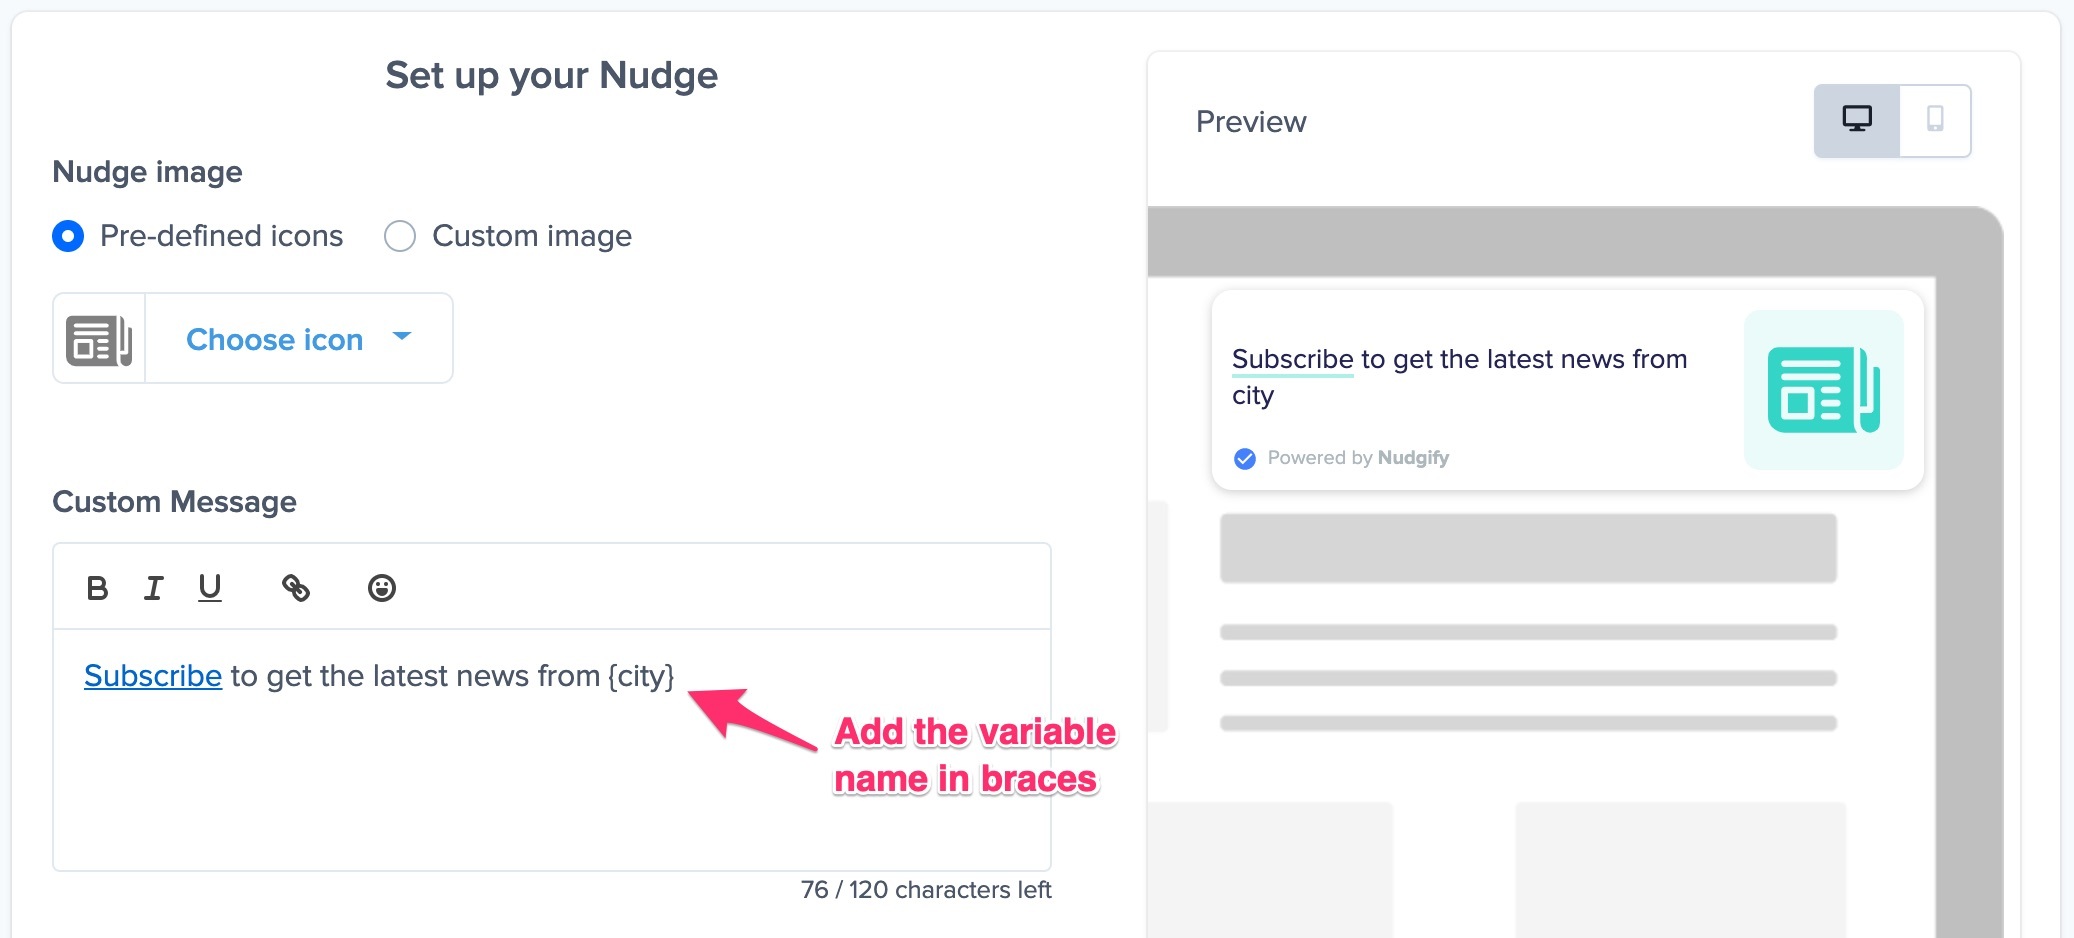
Step 2: Push the variables in your Custom Nudge message
Once the variable is added to your Pixel, you can push it in your Custom Nudge message by adding the key name of your variable in braces. For example: “Search hundreds of deals on flights from {city}” or “Subscribe to get the latest news from {city}”.
Depending on the location of the visitor of your site, the actual message in your Nudge will then show for example “Search hundreds of deals on flights from London” or “Search hundreds of deals on flights from Paris”.
As you can see in the screenshot above, the preview on the right shows the plain text you typed in, ‘city’. Only when the Nudge is live, it will capture and show the live data you push in the variable.
Can I also send orders or other conversions?
Yes you can, but not via our JavaScript API. To send conversions, such as orders or sign-ups to Nudgify, you can use our REST API. You can read how this works in our documentation: