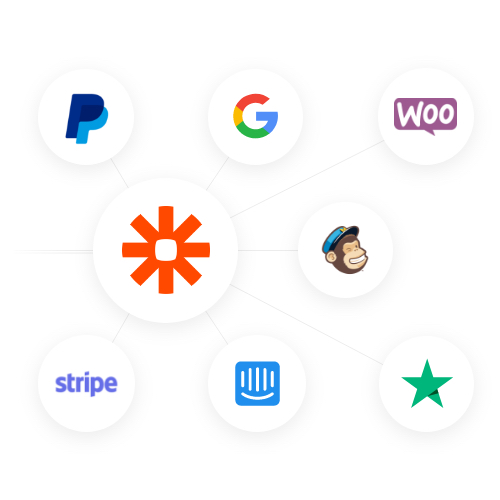
The new GoHighLevel Integration for sign-ups offers a seamless way convert new leads, as well as sales, to boost Social Proof through Nudgify. With this integration, you can effortlessly synchronize your email contacts and purchases from GoHighLevel with Nudgify, thereby transforming them into engaging social proof notifications on your website.
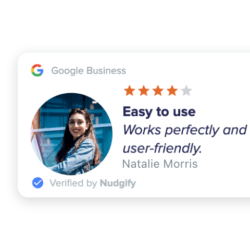
This integration empowers you to showcase your customers’ contacts and their purchases as nudges on your website. By integrating GoHighLevel with Nudgify, you strengthen credibility and foster trust with your visitors.
With this simplified GoHighLevel, your marketing efforts can now be better refined. In essence, this would help you boost conversions, and enhance the experiences of your website visitors. Hence, Nudgify works perfectly with your GoHighLevel data to equip you in getting the necessary results for your online platforms.
How to Connect Nudgify with GoHighLevel Sign-ups
To connect Nudgify with GoHighLevel, follow these steps:
- Use the GoHighLevel Integration to connect new users in your leads and display recent sign-up notifications.
- Copy Your Webhook URL: Access the integration page in your Nudgify account to find the ‘GoHighLevel Sign-up’ integration and click “Connect” to obtain your Nudgify Webhook URL.

- On your GoHighLevel account, navigate to ‘Workflows’ from ‘Automations’. Create a new Workflow and select ‘From Scratch’.
- Then, select ‘Contact-based’, start with bland, and click on next.
- Select ‘Contact Created’ as the trigger.
- Click the plus ‘+’ icon to add a new action. Then, select the Webhook Action, and choose ‘Post’ as the request type.
- Paste your GoHighLevel Webhook URL copied from your Nudgify account in the URL field.
- Save your action, and toggle the publish icon to activate your workflow. Also save your workflow.
- Finally, go back to Nudgify to click ‘I have done it’. There you have it!
- Congratulations, you can now set up social proof nudges in Nudgify to display your leads from GoHighLevel.
How to Connect Nudgify with GoHighLevel Purchases
To connect Nudgify with GoHighLevel, follow these steps:
- Use the GoHighLevel Integration to connect new users in your leads and display recent sign-up notifications.
- Copy Your Webhook URL: Access the integration page in your Nudgify account to find the ‘GoHighLevel Purchase’ integration and click “Connect” to obtain your Nudgify Webhook URL.

- On your GoHighLevel account, navigate to ‘Workflows’ from ‘Automations’. Create a new Workflow and select ‘From Scratch’.
- Select ‘Payment Received’ as the trigger.
- Click the plus ‘+’ icon to add a new action. Then, select the Webhook Action, and choose ‘Post’ as the request type.
- Paste your GoHighLevel Webhook URL copied from your Nudgify account in the URL field.
- Save your action, and toggle the publish icon to activate your workflow. Also save your workflow.
- Finally, go back to Nudgify to click ‘I have done it’. There you have it!
- Congratulations, you can now set up social proof nudges in Nudgify to display your leads from GoHighLevel.
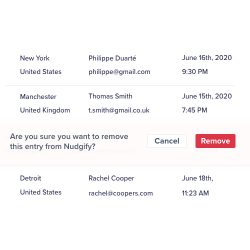
Create Real-Time Social Proof Notifications
Once Nudgify and GoHighLevel are connected, you can create social proof notifications to showcase recent activities. To create a social proof notification in Nudgify:
- Log in to your Nudgify account and navigate to the Streams.
- Click on “Create Nudge” and select a “Sign-up” Nudge for signs-ups.
- In the notification settings, select the “GoHighLevel Sign-up” data source
- Click on “Create Nudge” and select a “Purchase” Nudge for purchases.
- In the notification settings, select the “GoHighLevel Purchase” data source

- Set the display rules, such as timing, frequency, and duration of the notification.
- Save and publish your social proof notification.
Customize Design and Placement
Tailor the design and placement of Nudgify’s social proof notifications to align with your website’s branding and aesthetics. Customize colors, fonts, and animations to create a visually appealing experience. Experiment with different placements to maximize visibility and ensure the notifications capture visitors’ attention effectively.
Here is a quick glimpse into the design and placement settings that can make your notifications truly shine. Be sure to check out the official Nudgify documentation on nudge settings:
- Decide where your Nudges should appear. Most websites use Nudges in the bottom-right corner

- The highlight color applies to your hyperlinks the icons

- Adjust how long Nudges show, how quickly they appear after one another and add an initial delay to your Nudges

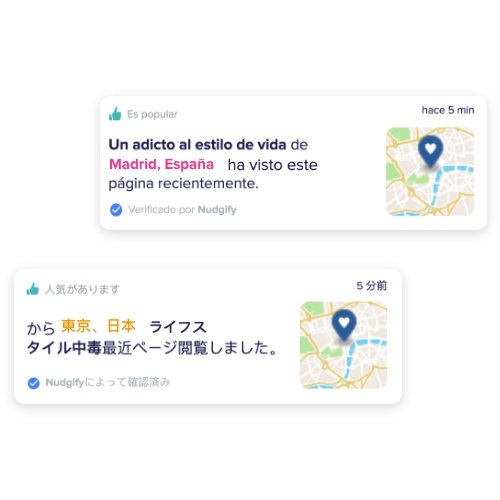
- Select a language for your notifications: Nudgify displays notifications in 32 languages.